Showing posts with label ricotta. Show all posts

Wednesday, October 12, 2011

Pumpkin, Savory and Sweet

I knew I was going to like this recipe the minute I saw the picture in Ottolenghi's book, Plenty. His "Crusted Pumpkin Wedges with Sour Cream" just caught my eye! It's all about the coating that gets pressed into the pumpkin and then when baked, turns crispy and crunchy!
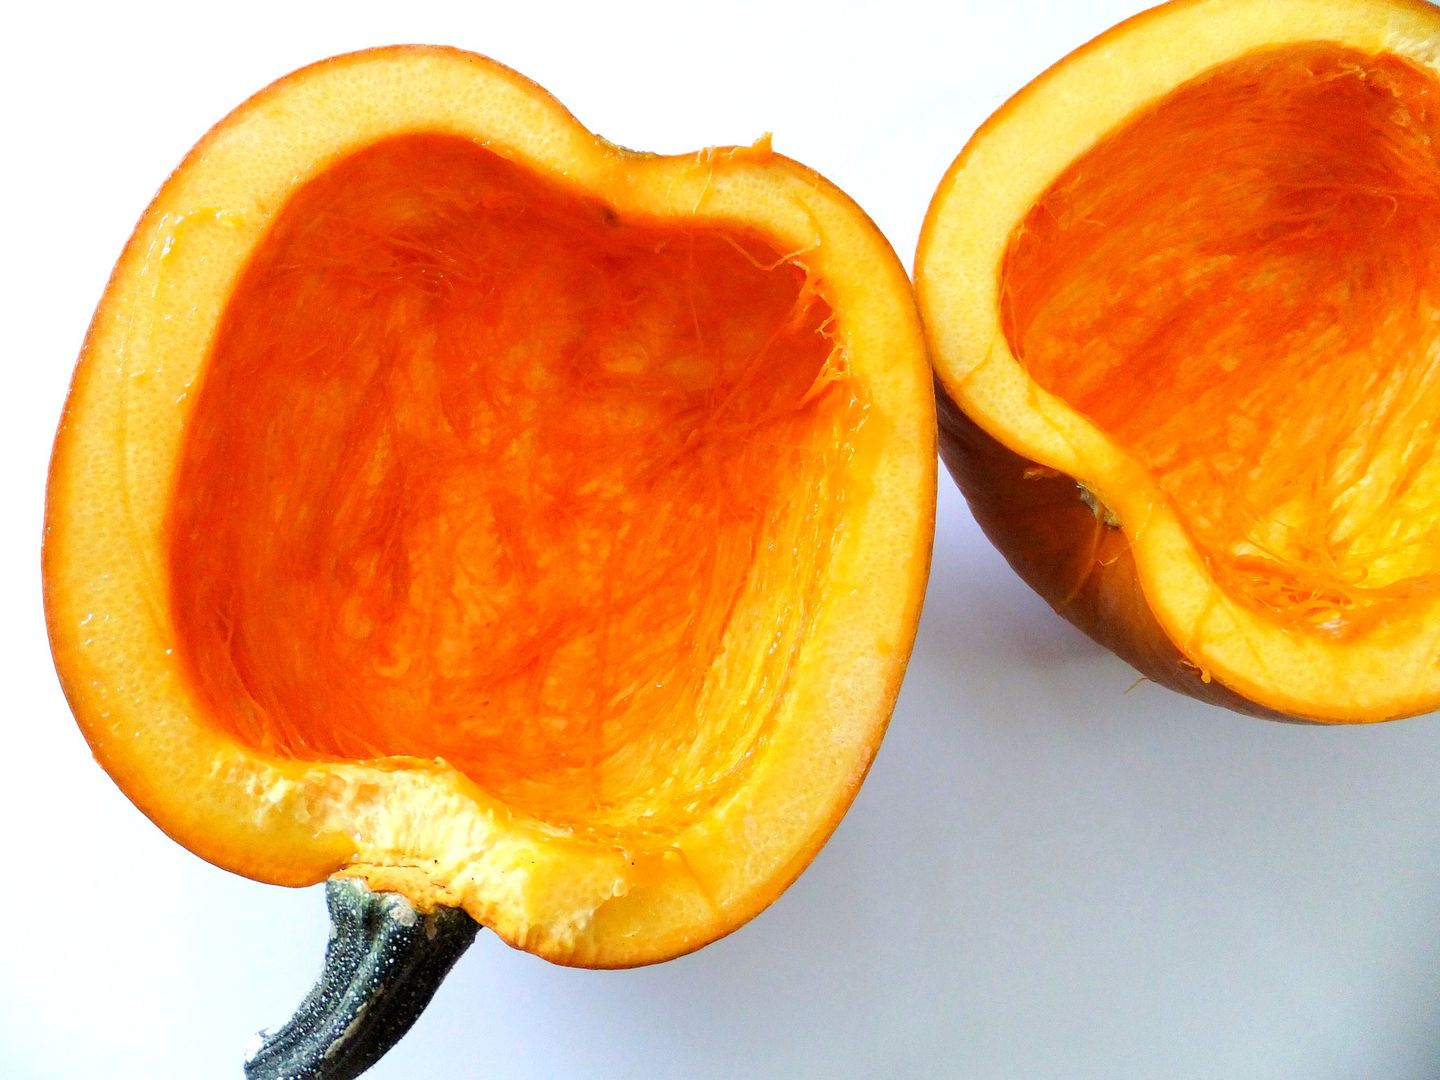


I had the perfect size pumpkin just waiting for this recipe, it weighed about 1 1/2 lbs. I just cut it in half, scooped out the seeds and sliced it into wedges.
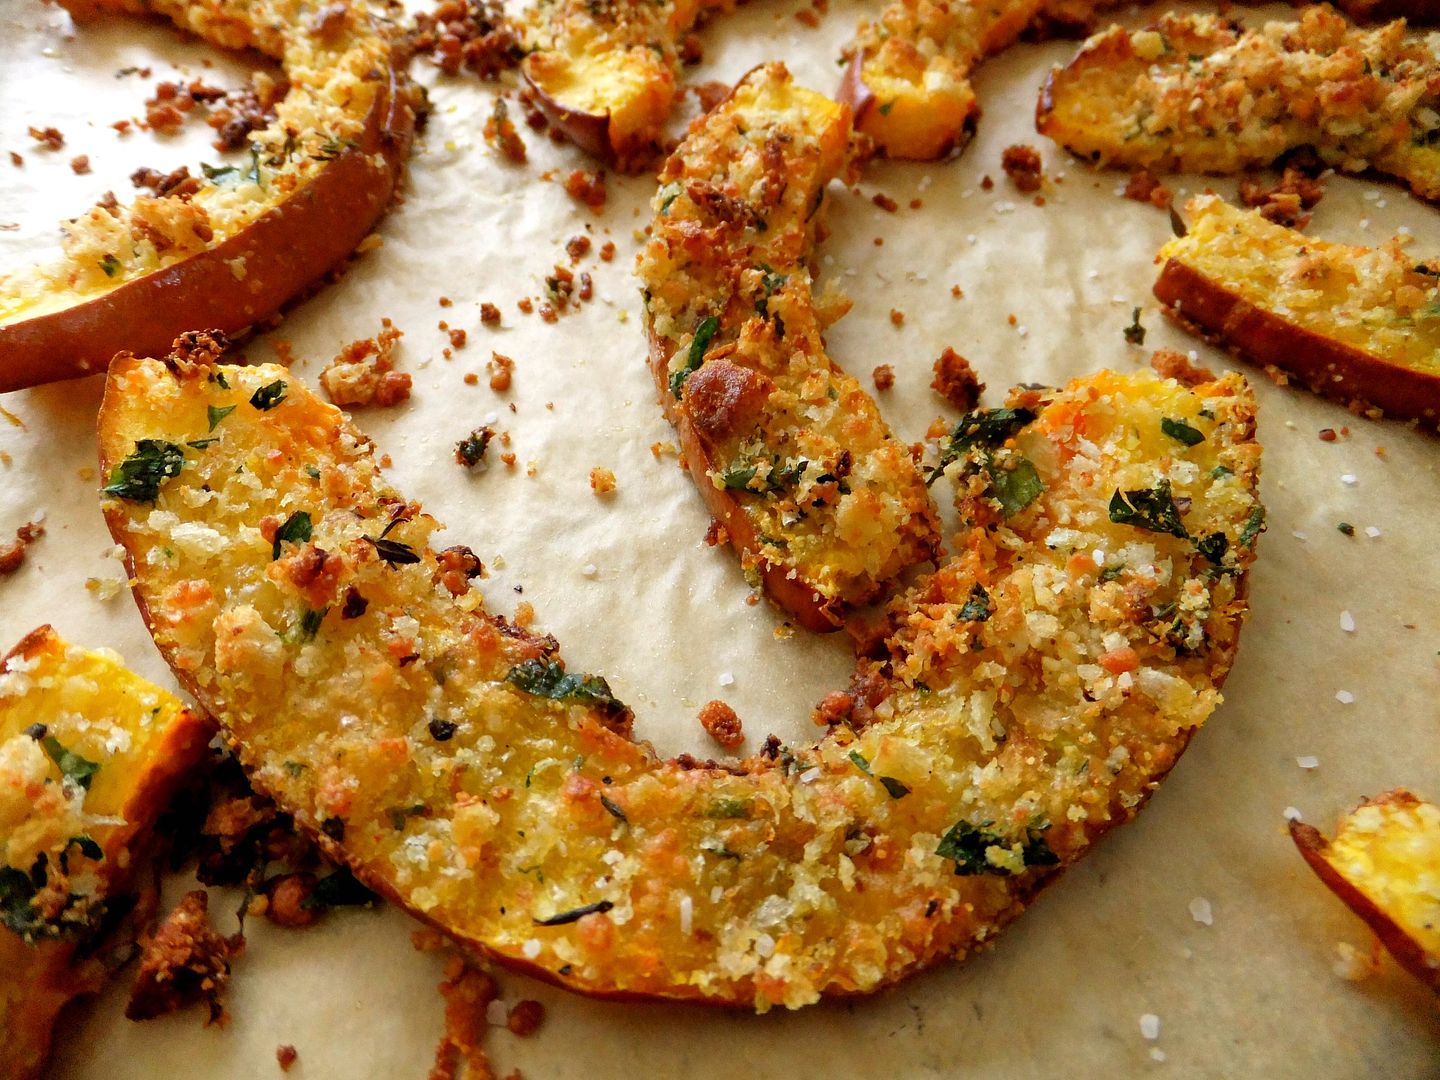


I have to say this would be perfect with really any squash, I normally don't cook with fresh pumpkin that often so I was surprised it tasted just like any other squash, so next time I think I'll do this with acorn squash instead because I think the crusted rings would look beautiful on a platter. As far as the taste goes it's absolutely delicious!


Each wedge gets brushed front and back with olive oil then a mixture of grated parmesan, breadcrumbs, fresh parsley and thyme, lemon zest, crushed garlic, salt and pepper. The mixture gets pressed on both sides of the pumpkin and then baked in the oven. I did mine at 400F until deep golden. You can actually see the recipe as you look inside the book on Amazon here. A perfect side dish for the holidays!


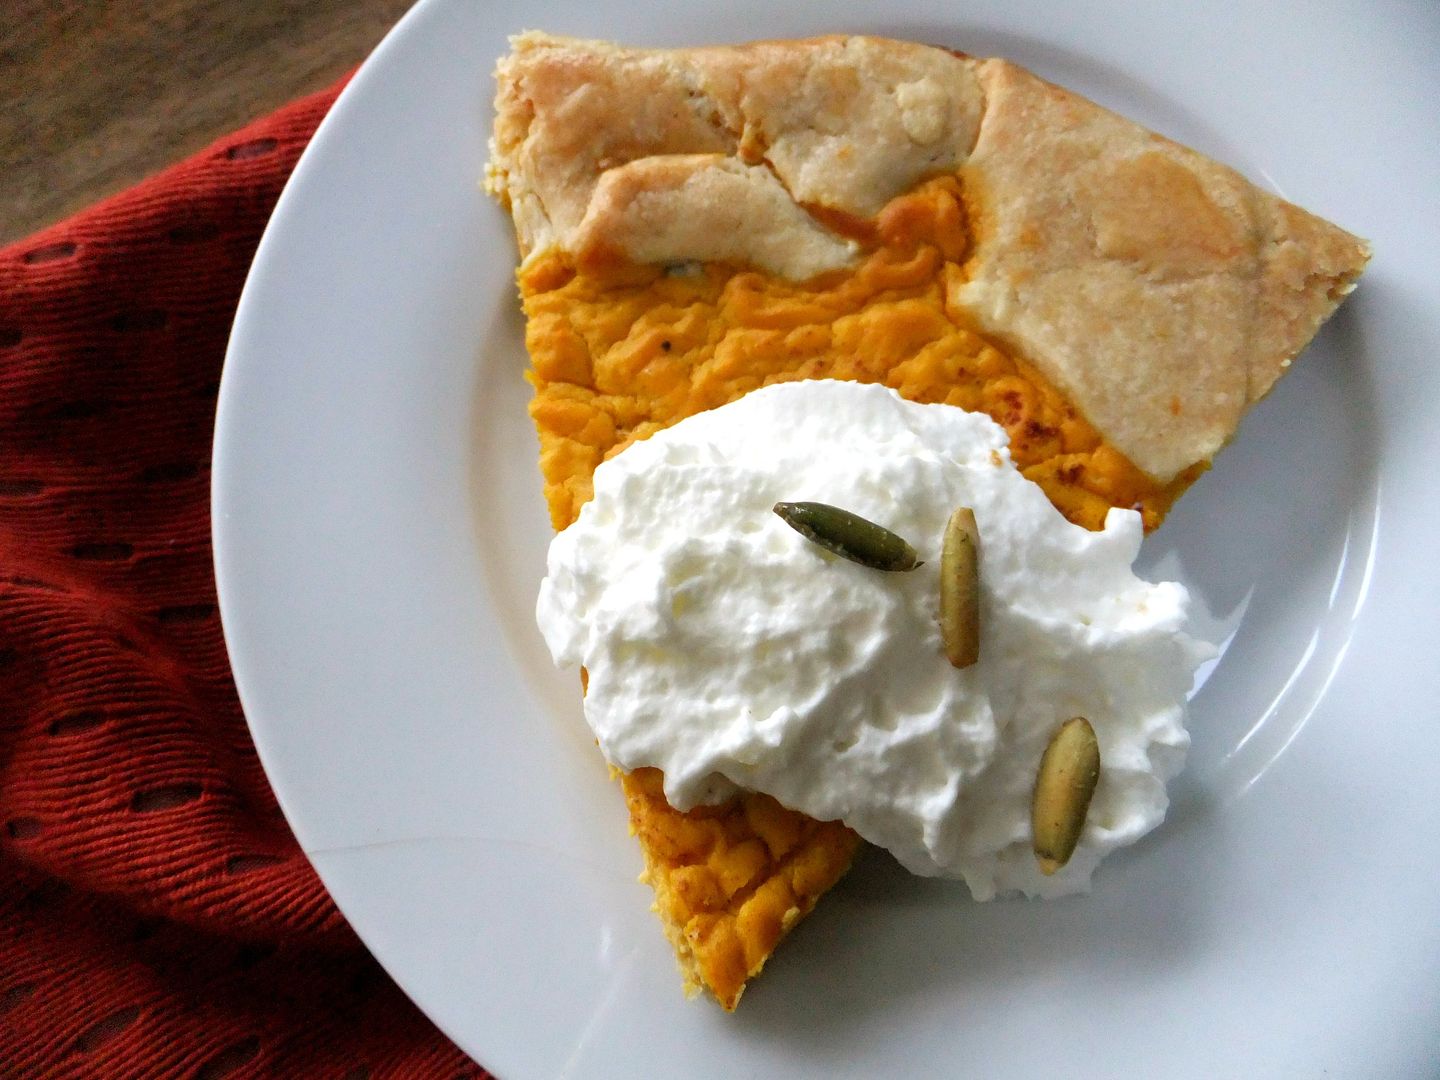
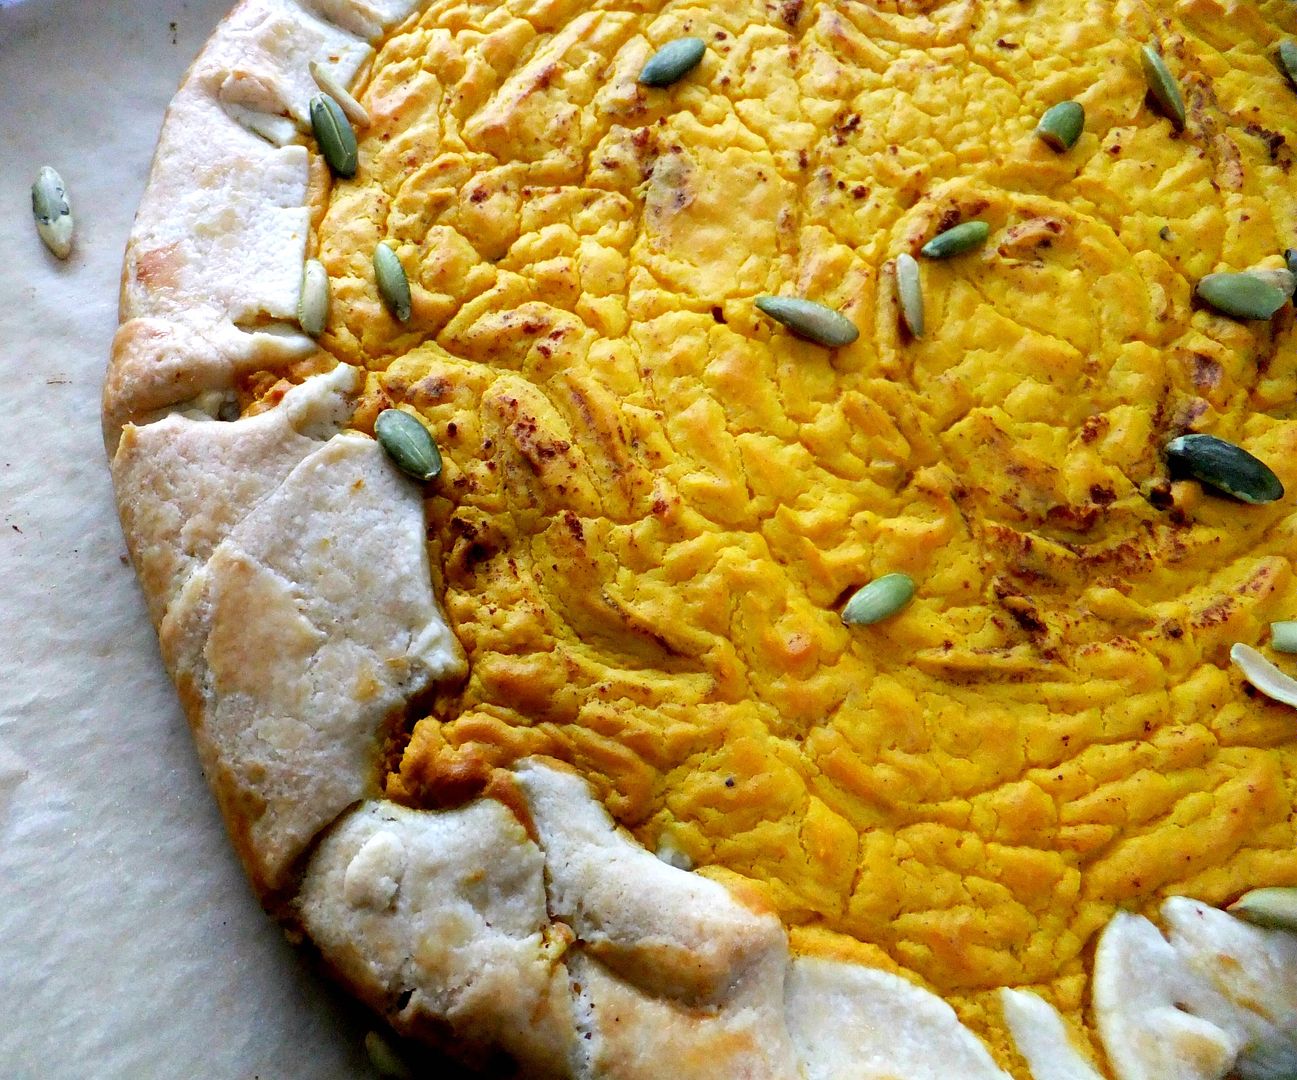
If you're a regular reader of my blog you know I love ricotta, I don't think a week goes by where I don't have some sitting in my fridge, as I write this another pound is in there calling my name, so when I saw Martha's," Pumpkin Ricotta Crostata" in her book, "Pies and Tarts", I knew I'd be making it.
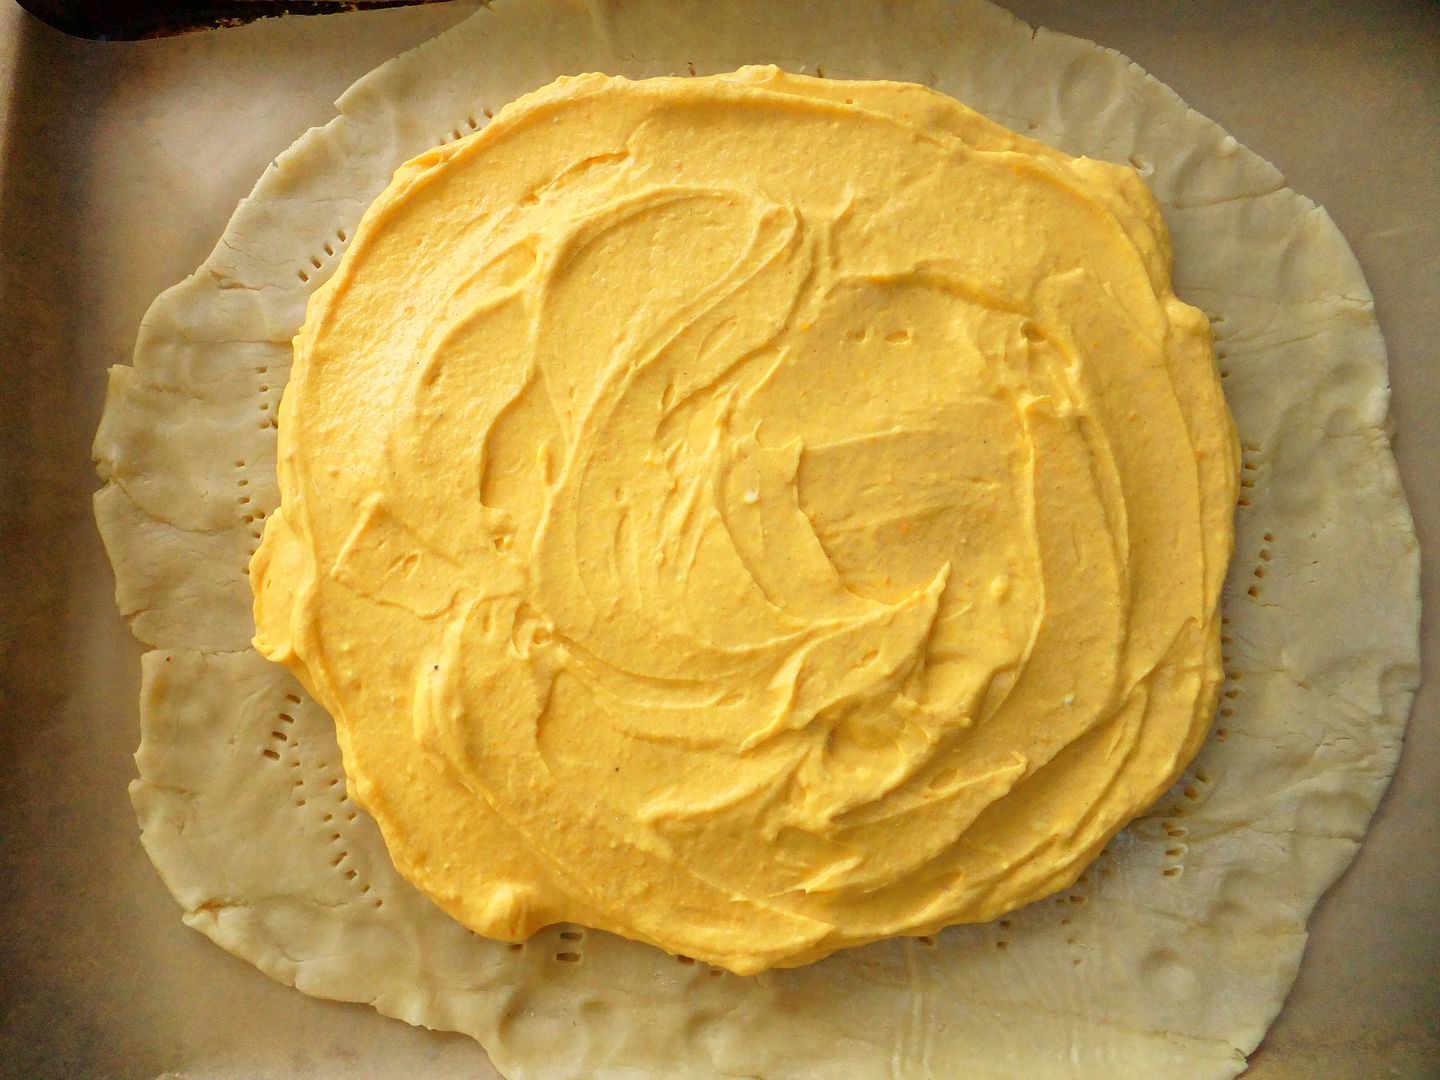

She of course did hers a lot more fancy in a tart pan with pasta frolla dough with a pretty lattice pattern on top with pine nuts. I wasn't that energetic so I used Trader Joe's pie dough and made a free form tart and garnished it with pumpkin seeds because I'm still not buying pine nuts.


This is made with canned pumpkin, ricotta and mascarpone cheese flavored through out with vanilla and the spices in a pumpkin pie. Martha uses just nutmeg but I like all the warm flavors you get in pumpkin pie spice.


The perfect quick dessert with a dollop of whipped cream and a nice cup of coffee!


Happy Fall!

Friday, March 25, 2011

Weekend Eats

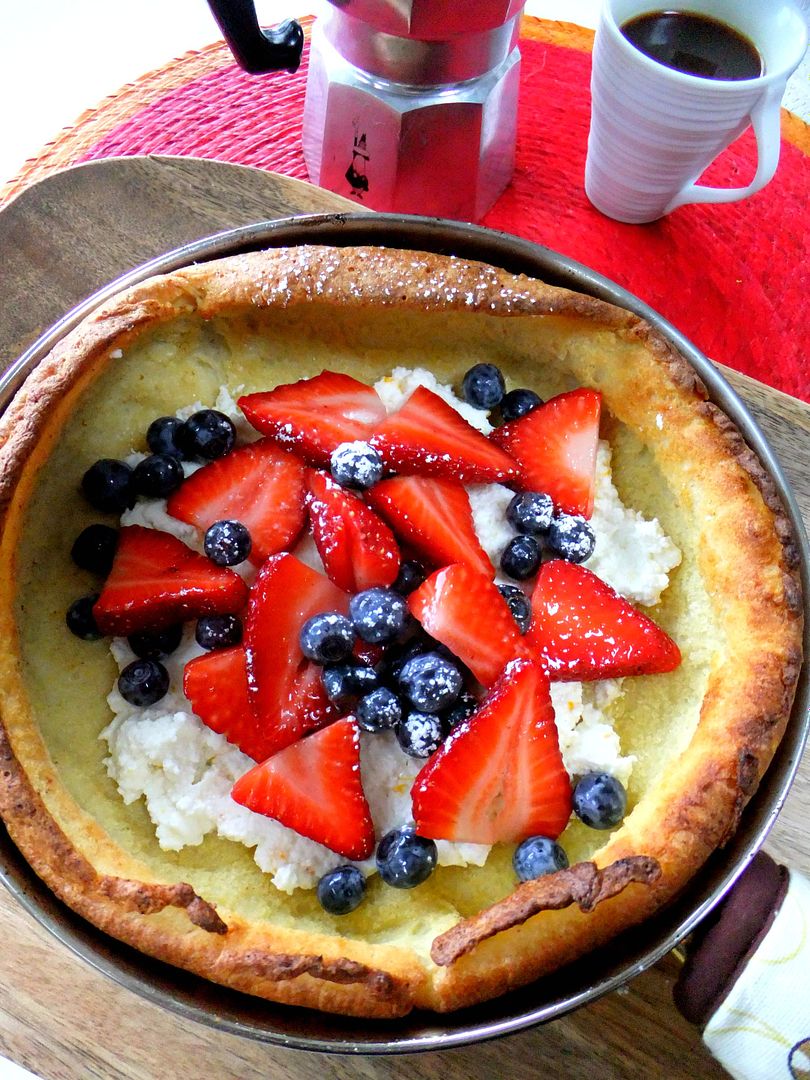
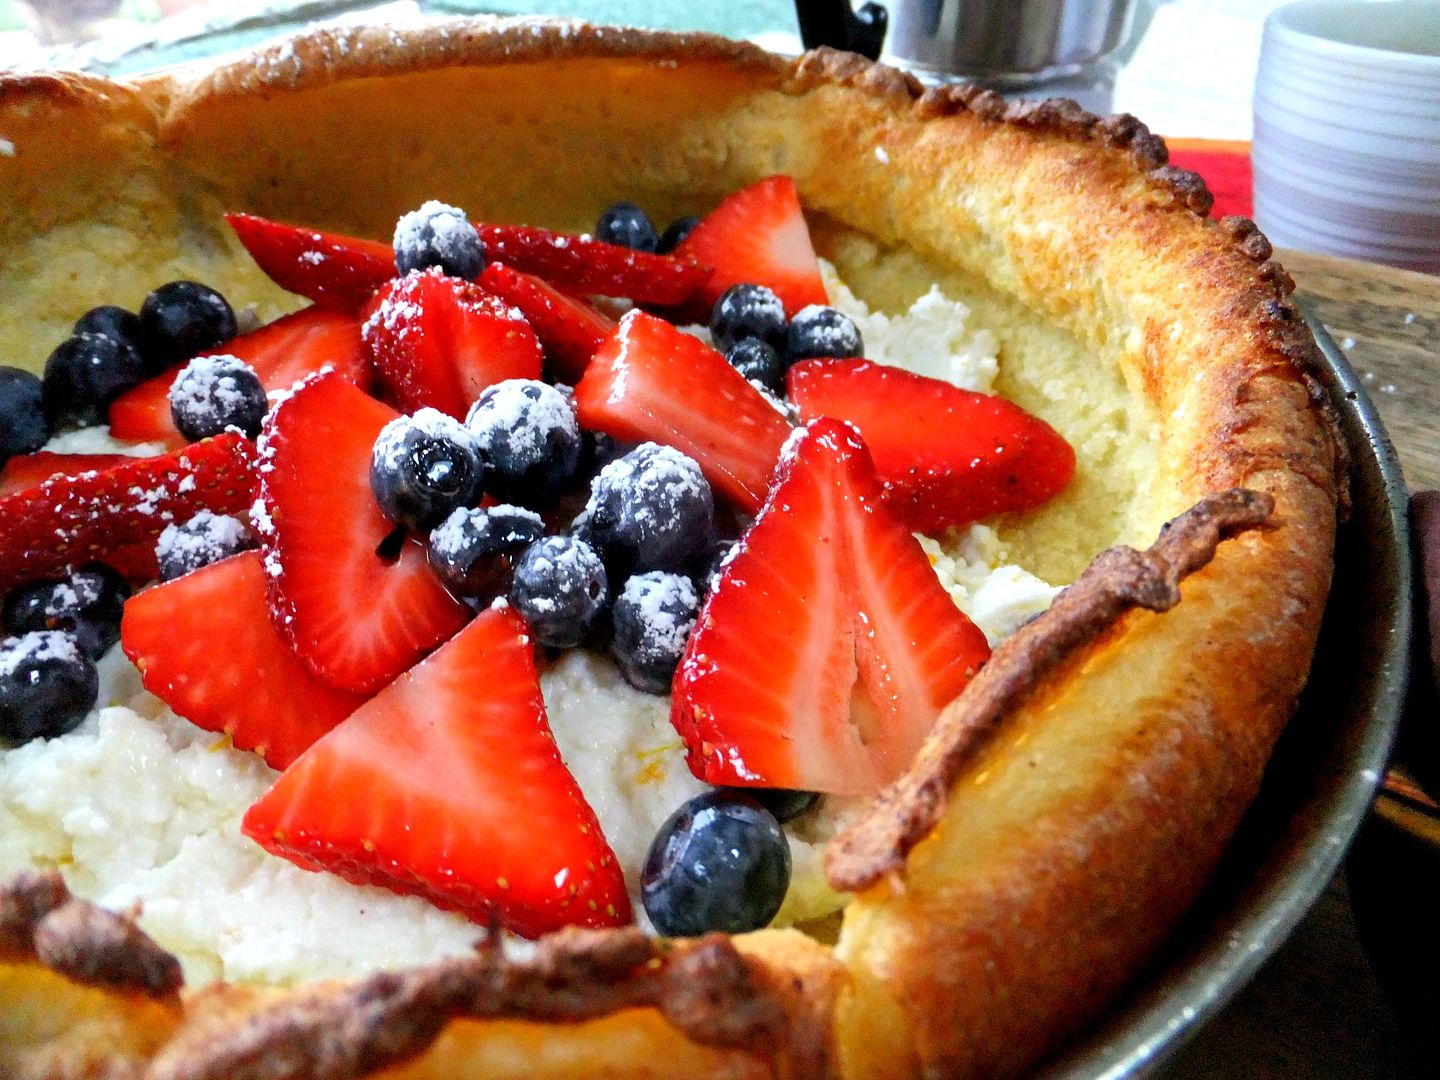
A Creamy Berry Puff Pancake is the perfect thing to make for that lazy weekend breakfast, why go out when you can pull this together in no time while you're still all comfy and cozy in your slippers!


Put the coffee on, relax and read the Sunday paper while it's baking in the oven, it only takes
20 - 25 minutes.

The batter takes 5 minutes to whisk up, it consists of ,** 1 cup of flour** 1 cup of milk** 4 beaten eggs** a pinch of salt** 1 teaspoon of vanilla** 1 tablespoon of sugar**
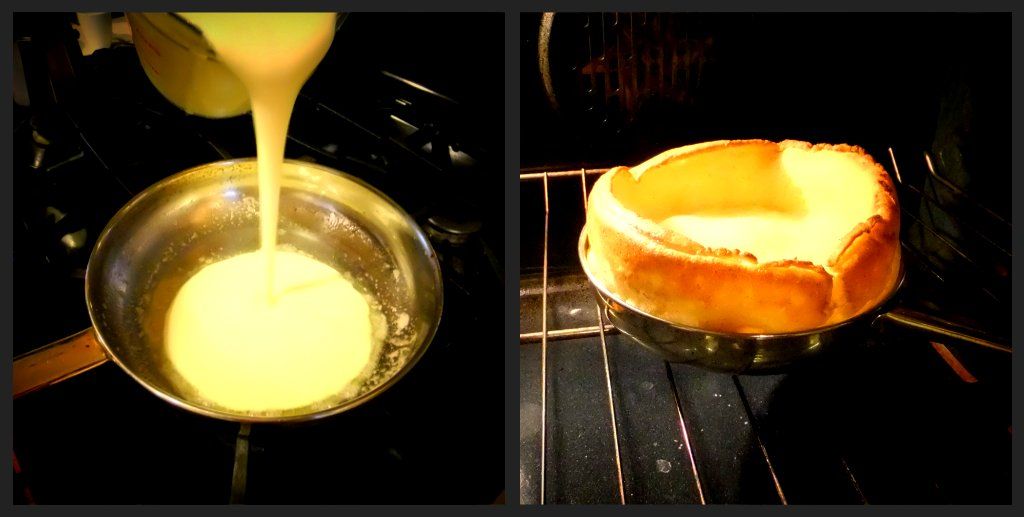
Melt 1 tablespoon of butter in an 8 inch oven proof skillet, next pour 1 cup of the batter in, swirl it around and place it in a preheated 450F oven for 20 - 25 minutes.
You'll be able to make two 8 inch pans like I did, using 1 cup of batter in each or one large pan using all the batter plus the 2 tablespoons of butter. I would think at least a 12 inch skillet size would work, although I never tried it. I have a 14 inch and I figured that was too big.
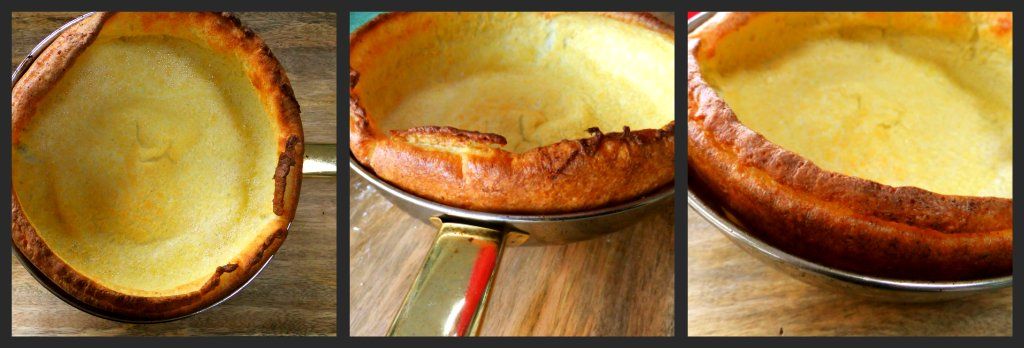
The sides puffed up perfectly just like they're suppose to, creating the perfect vessel to fill!


I filled mine with berries and sweetened ricotta as the base, the ricotta was mixed with,
** orange zest and powdered sugar** **less than a cup of ricotta** ** 2 0r 3 tablespoons of powdered sugar**, taste it to your liking.
Slice it into generous wedges and drizzle with warm maple syrup for the perfect ending!
Recipe adapted from food.com

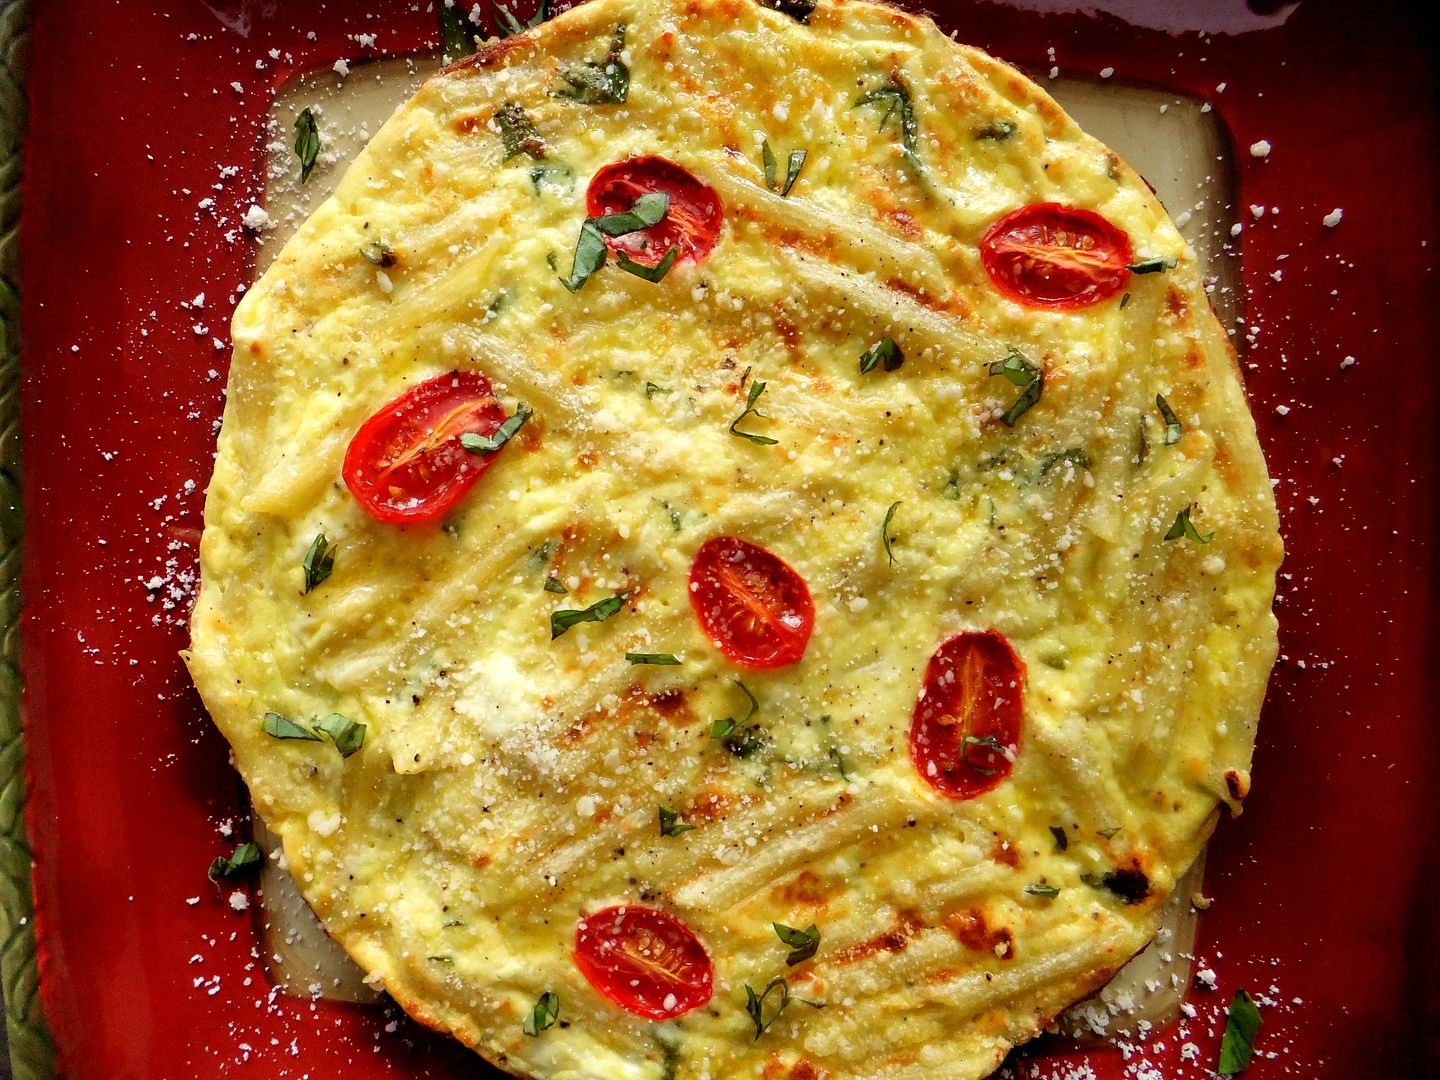
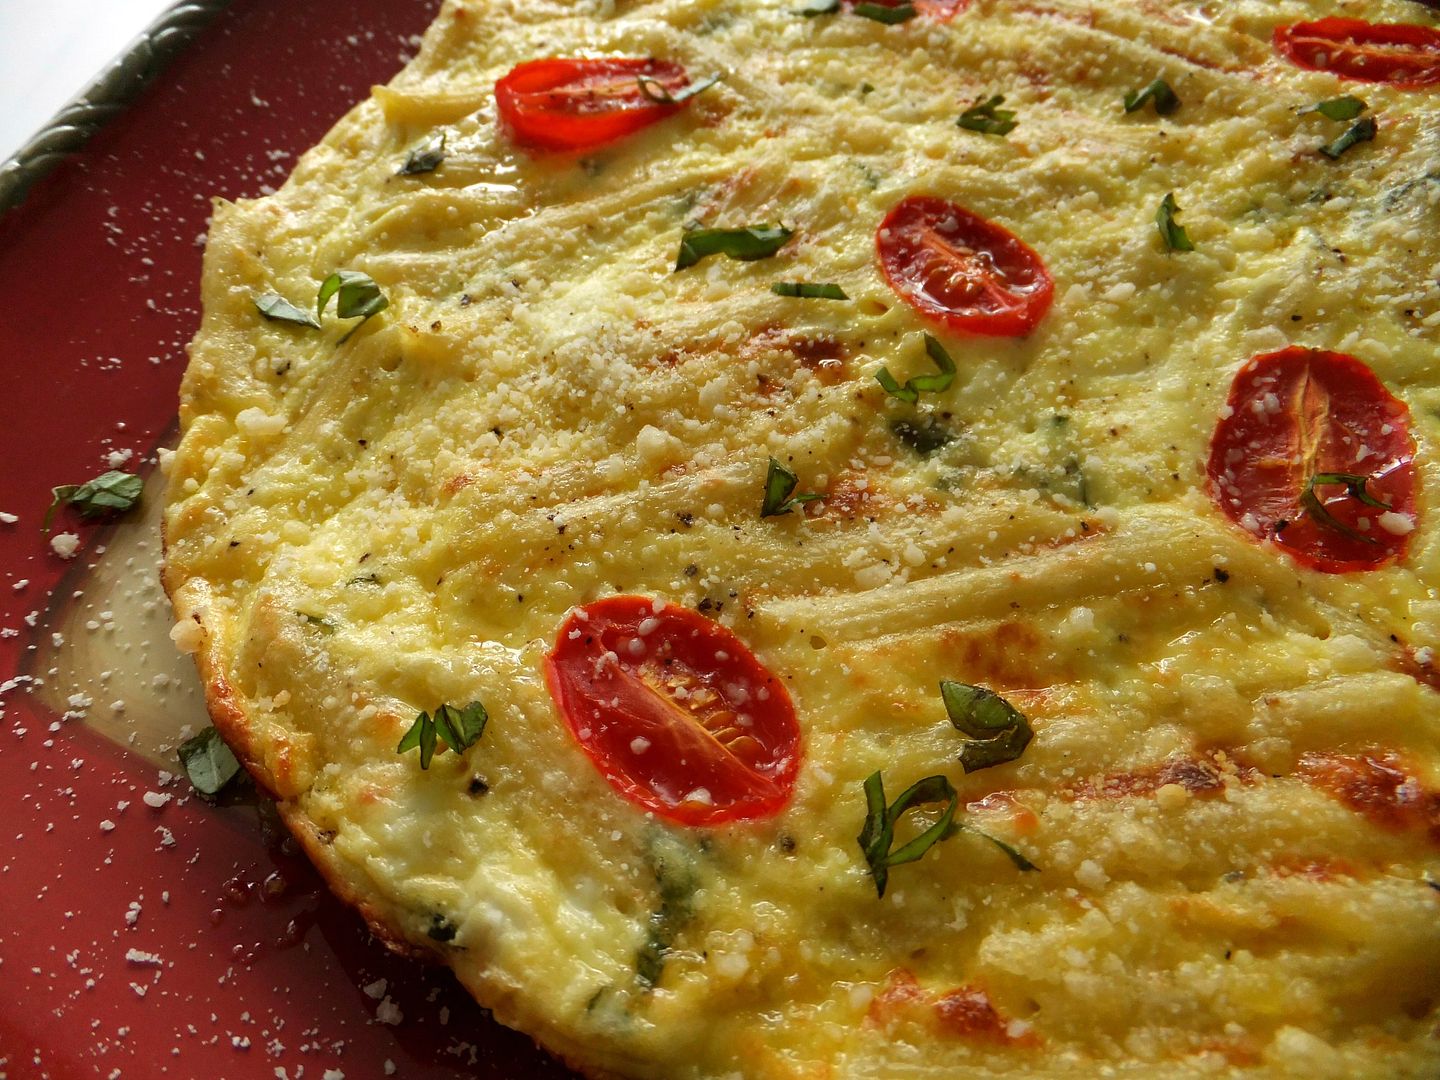
If you prefer brunch, make yourself this Pasta Frittata, you'll be amazed at the different variations you can create with just, **a handfull of leftover pasta** some eggs** a dollop of ricotta cheese** grated cheese** and fresh herbs**
After my frittata's start to "set" on top of the stove (where the egg mixture stops moving), I like to finish them off under the broiler, but don't walk away, keep watching it, believe me it could burn in a matter of seconds! Just get it nice and golden brown.

I like to serve this with an arugula salad tossed with an olive oil, lemon and parmesan dressing. So good!

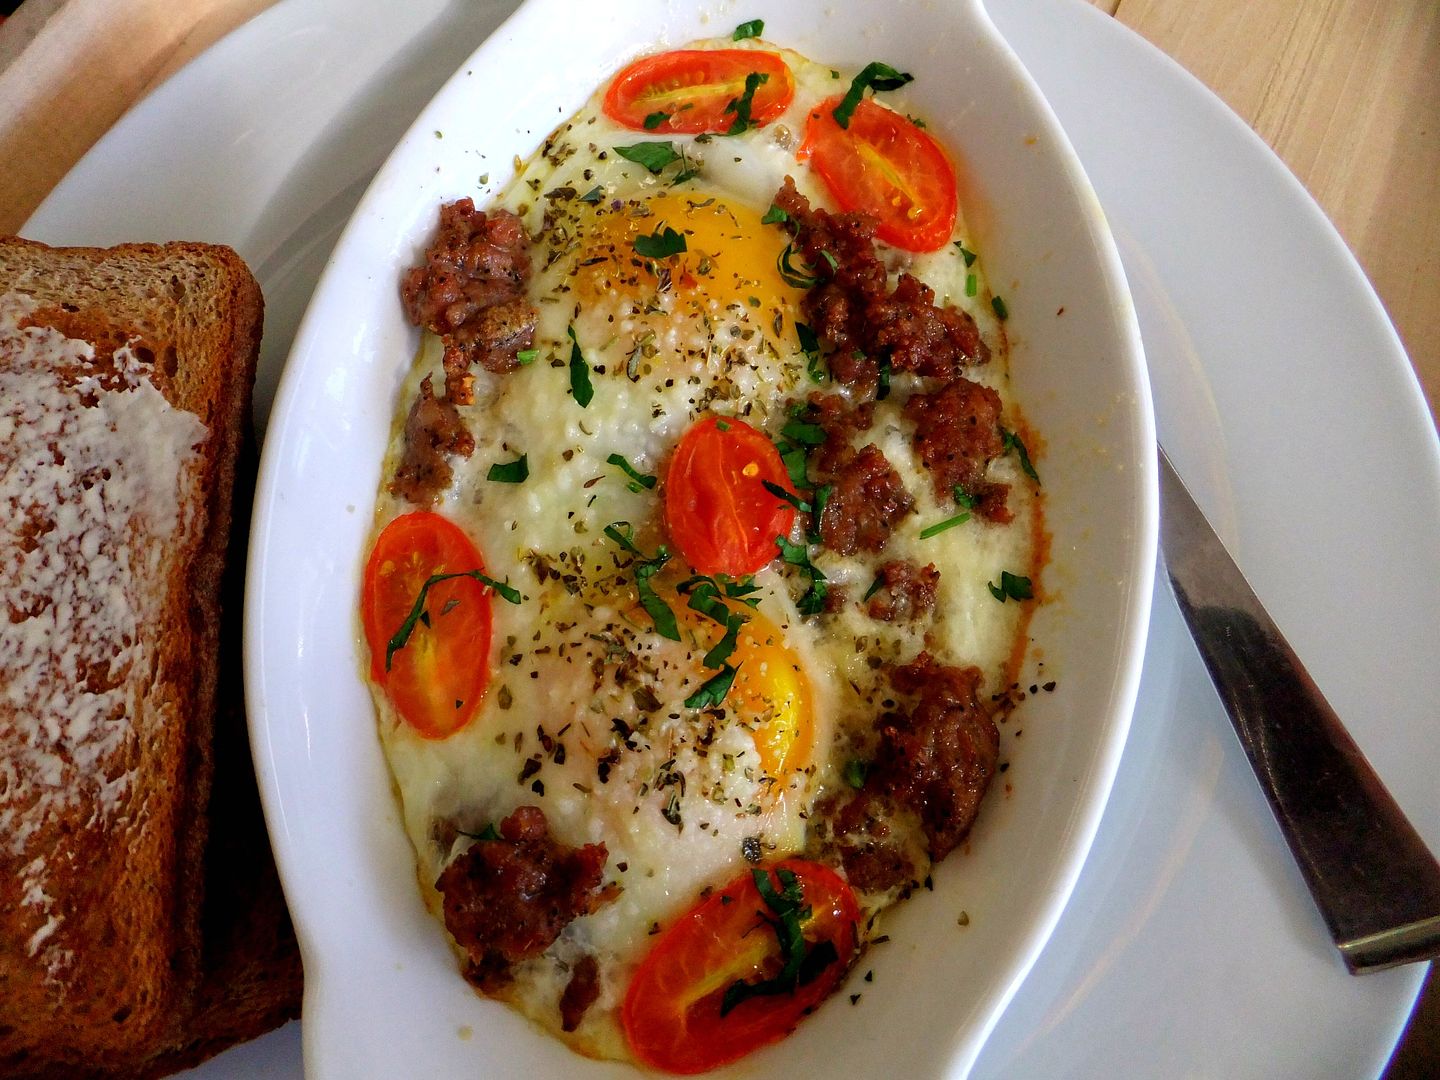
If you want to add a little meat to your morning breakfast try this Baked Sausage and Eggs.
I like to serve this in individual gratin dishes for a nice presentation.
** Preheat your oven to 375F. ** Use 1 link of Italian sausage per serving, casings removed and browned before baking** Butter or brush olive oil into your gratin dish** Crack 2 eggs plus 1 egg white into each individual dish** Sprinkle your favorite dried seasonings over top along with grated parmesan cheese, I used fennel and oregano for mine** Scatter with halved cherry tomatoes** Bake until eggs set, ovens will vary**
Relax and enjoy your weekend!
Buon Appetito

Saturday, March 19, 2011

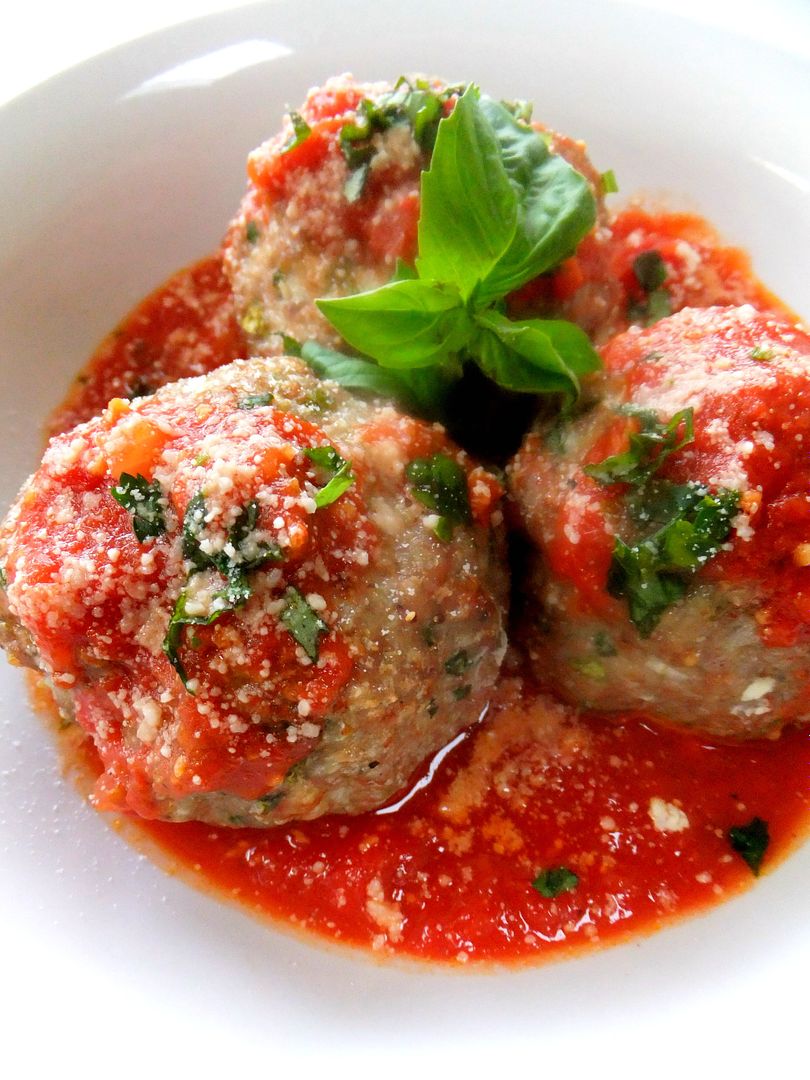
Ricotta Stuffed Meatballs

I got the inspiration to make this the other night while I was flipping channels on my remote, I came across a show on Food Network it was either "Unique Eats" or "The Best Thing I Ever Ate", I can't tell you which one it was but the girl was just raving about these Ricotta Stuffed Meatballs that she ate at some restaurant.
What caught my attention was the brilliant way in which the Chef stuffed them, he did it by freezing balls of ricotta, placing them inside the meat and them forming the rest of the meat all around it.

I couldn't wait to try out his method, it sounded so easy!
Martha once had someone on her show who baked the meatballs first then took a apple corer and cut through the center of the meatball after which he took a pastry bag filled with ricotta and squeezed it into the hole, sounds like a lot of work to me plus you're wasting some of the meatball, and besides I wanted my ricotta cooked.


There was no recipe, I just winged it, you'll be amazed how easy it is to do.
Mix up your ricotta in a separate bowl, I added romano cheese, salt, pepper, chopped basil and parsley to mine, no egg.
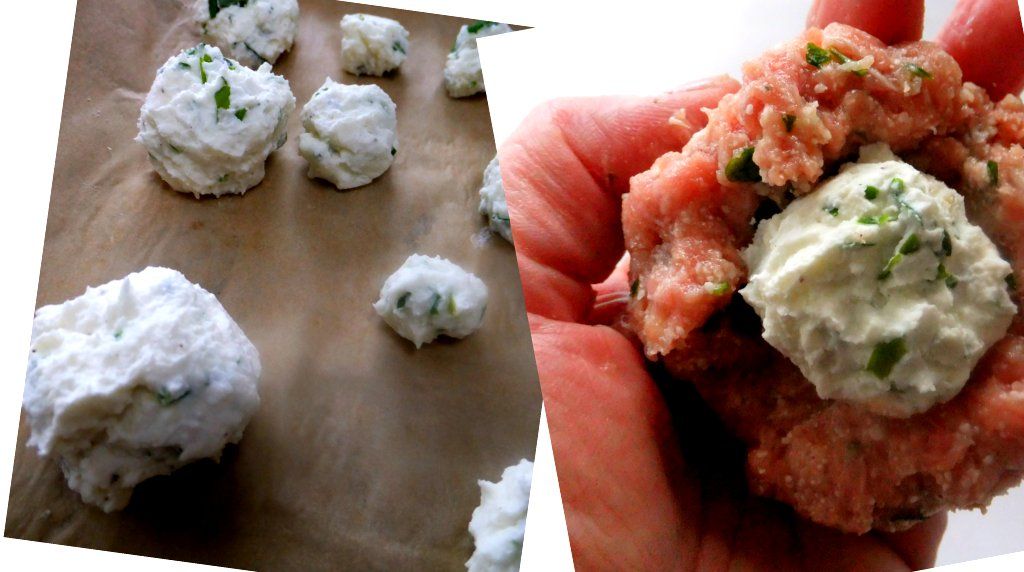
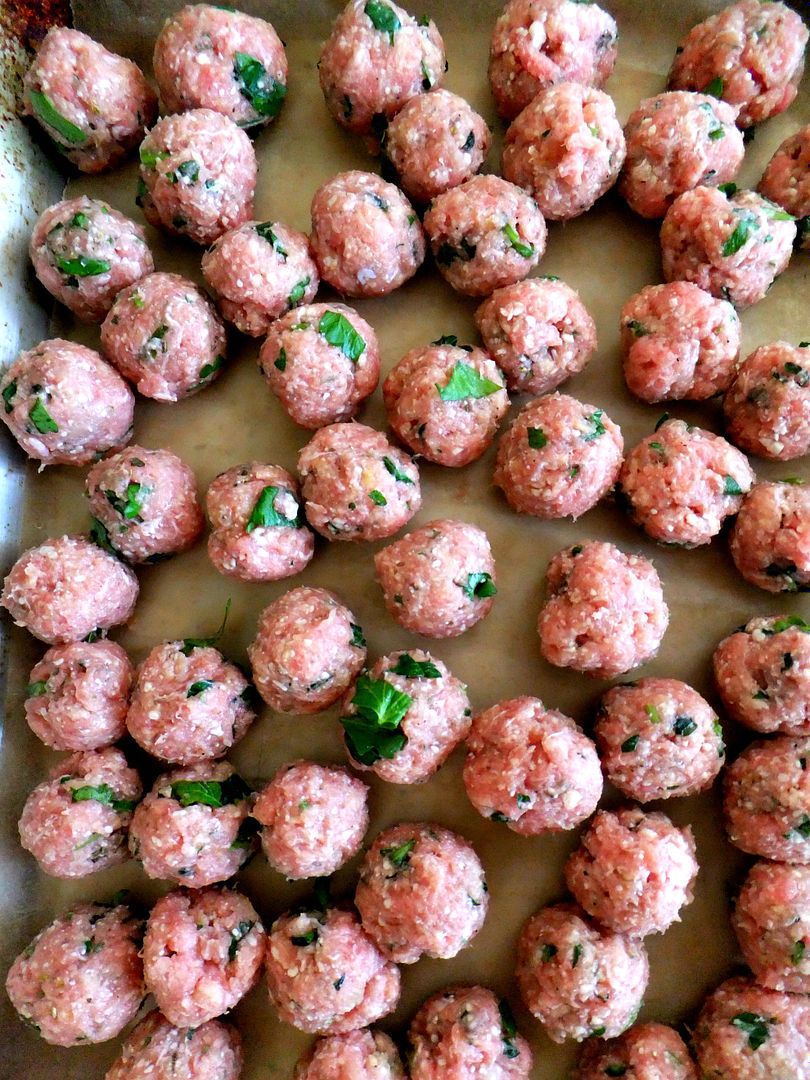
The size of your meatballs will determine the size of your ricotta balls, I made a few giant meatballs, like one per person size and I also made regular sized ones, so I rolled my ricotta accordingly, placed the balls on a parchment lined baking sheet and into the freezer they went for about an hour.

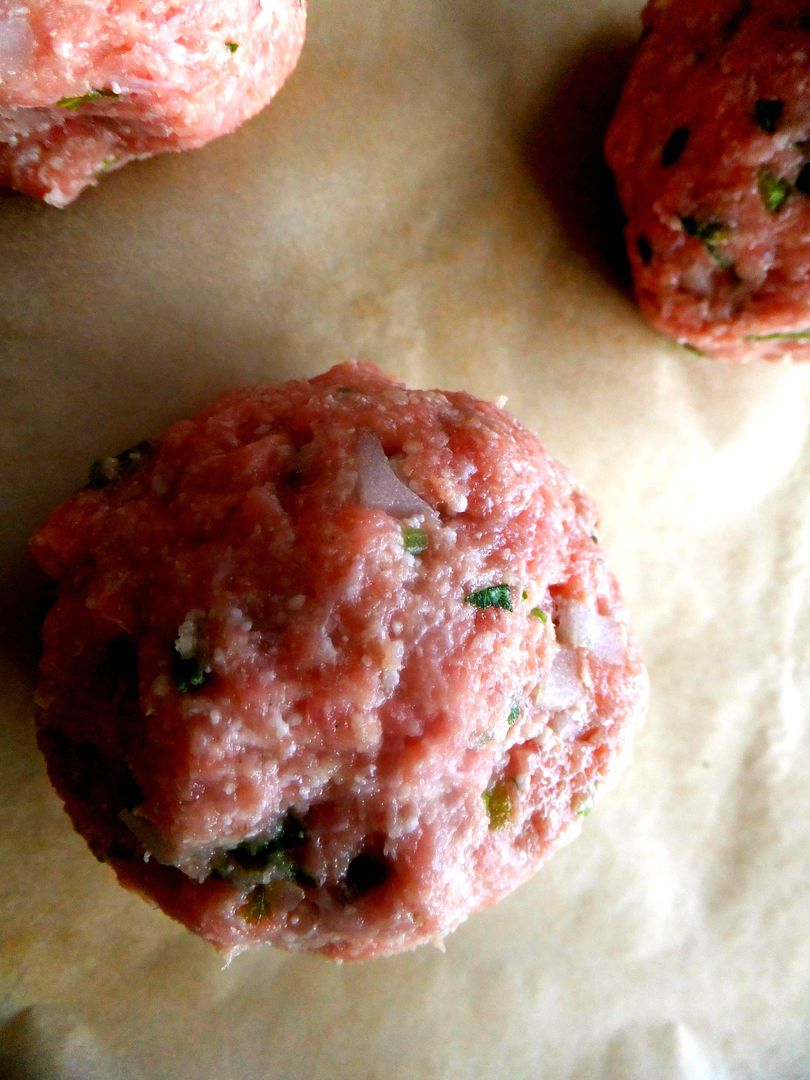
While you're waiting mix up your meat, I usually always add, garlic, onion, egg, grated cheese, moist bread, salt, pepper and fresh chopped parsley to mine.

When the ricotta balls are frozen and ready to go, take some meat in the palm of your hand, place the ball of ricotta inside, then cover it with more meat to form a ball, that's it!

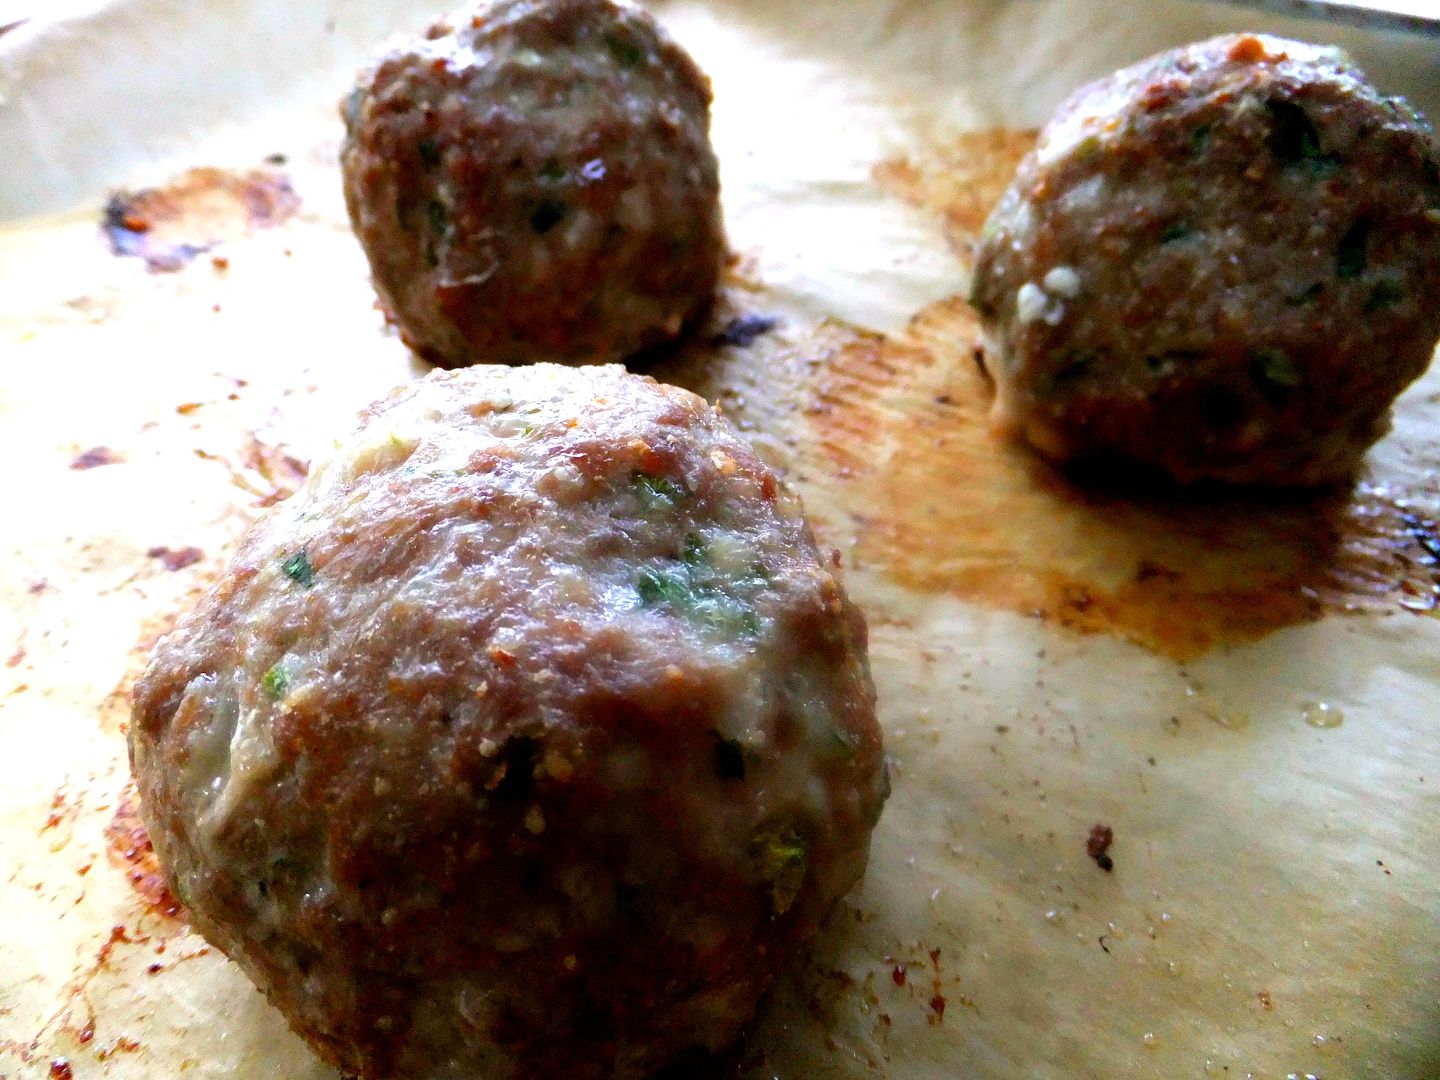
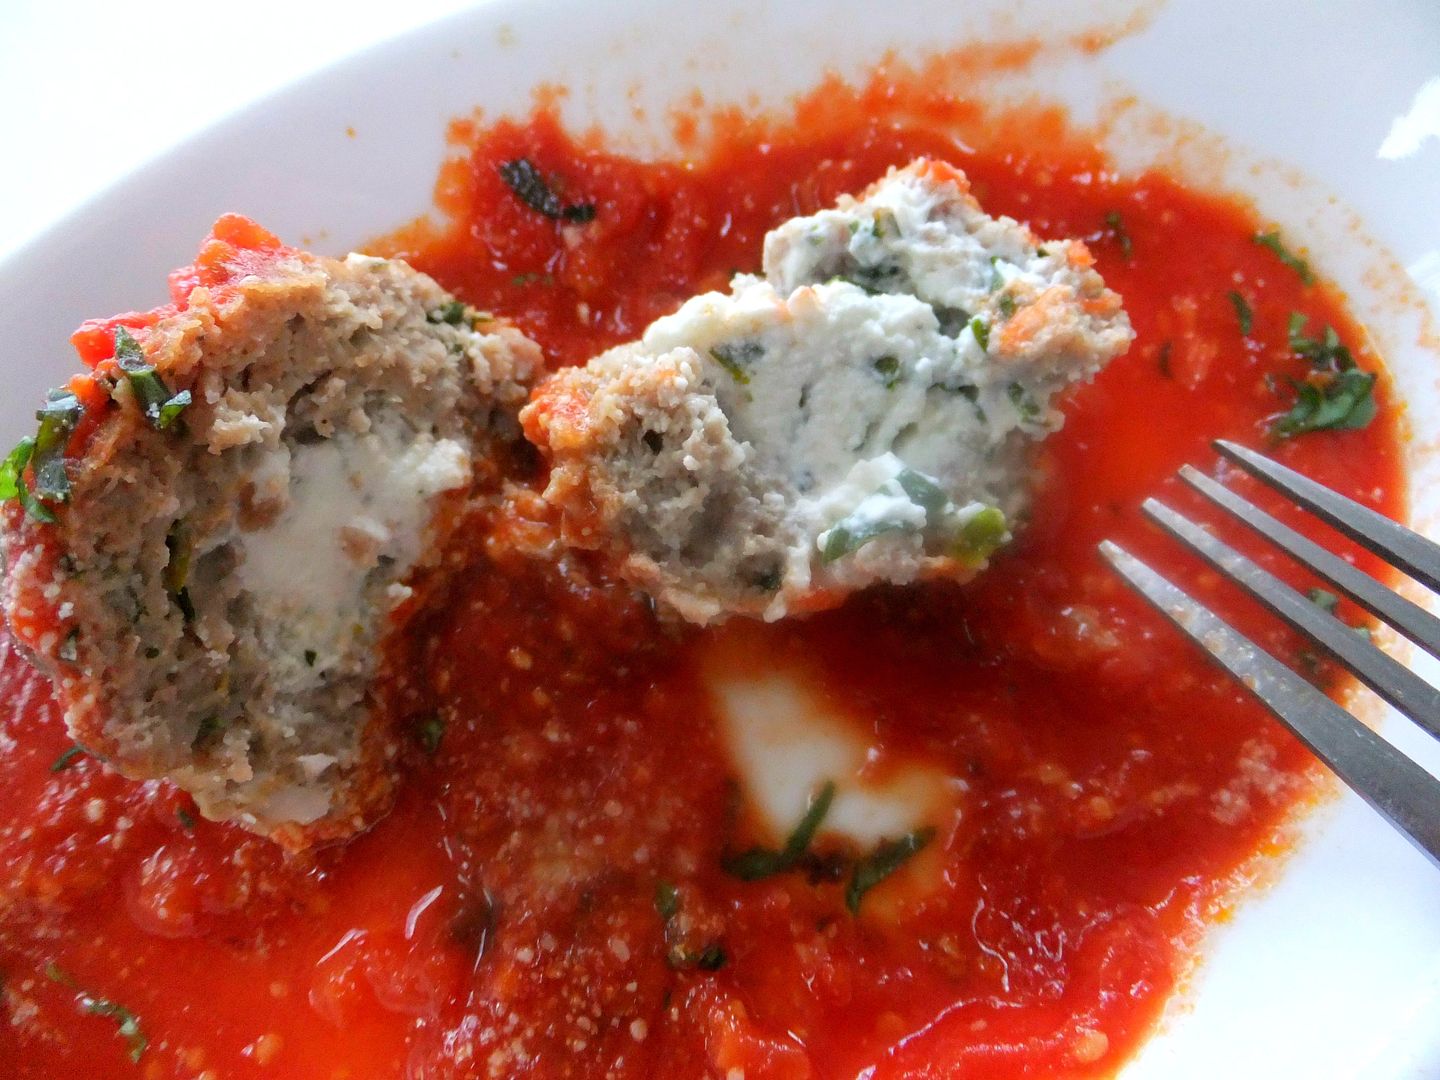
Although it's hard to see the perspective in this photo, these were the giant meatballs I made, one was enough per person to fill you up.
I served these big ones with a salad and roasted cauliflower for our dinner.
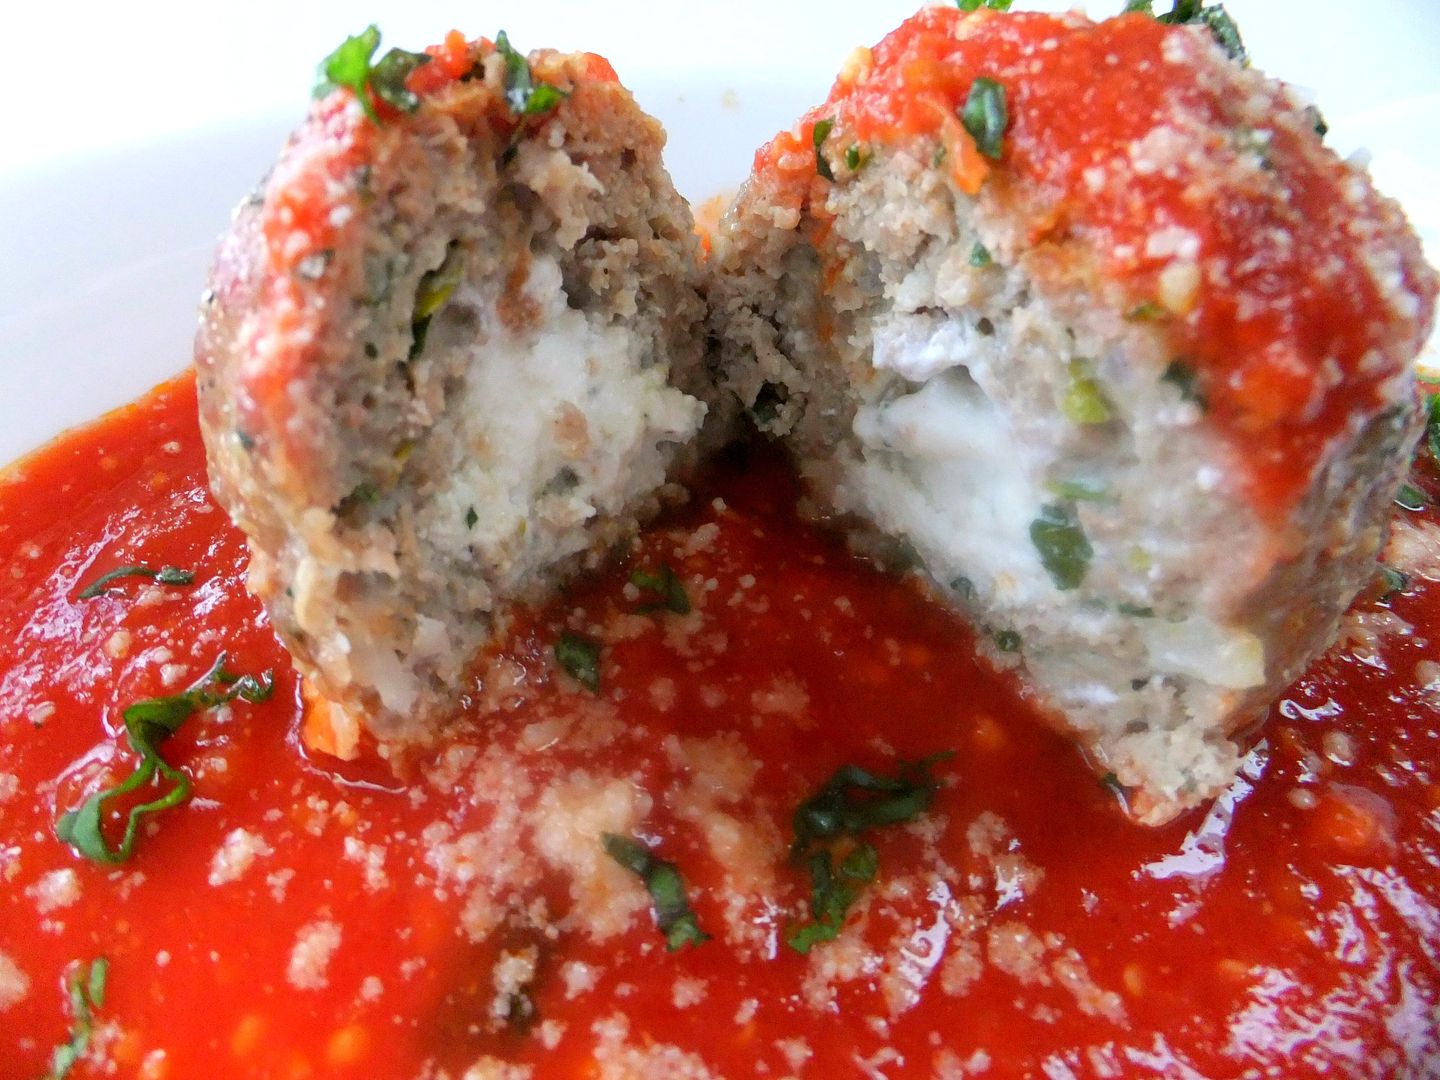
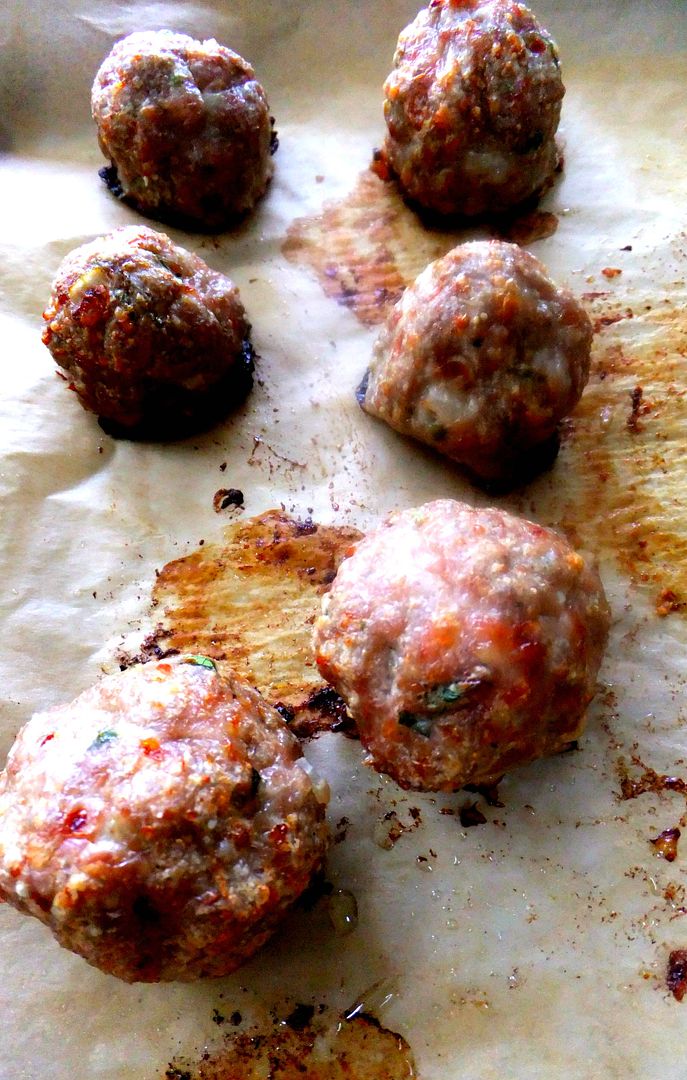
I also rolled up a tray of regular sized meatballs, I was curious to see if it would work and the ricotta would stay tucked inside after they cooked, and It did perfectly!


Bake them in a hot oven 400F - 425F
until done, of course that it will all depend on the size you make your meatballs.

Let them cool down a bit before you try to stick your fork inside
otherwise the ricotta will just run out. Trust me, I know!


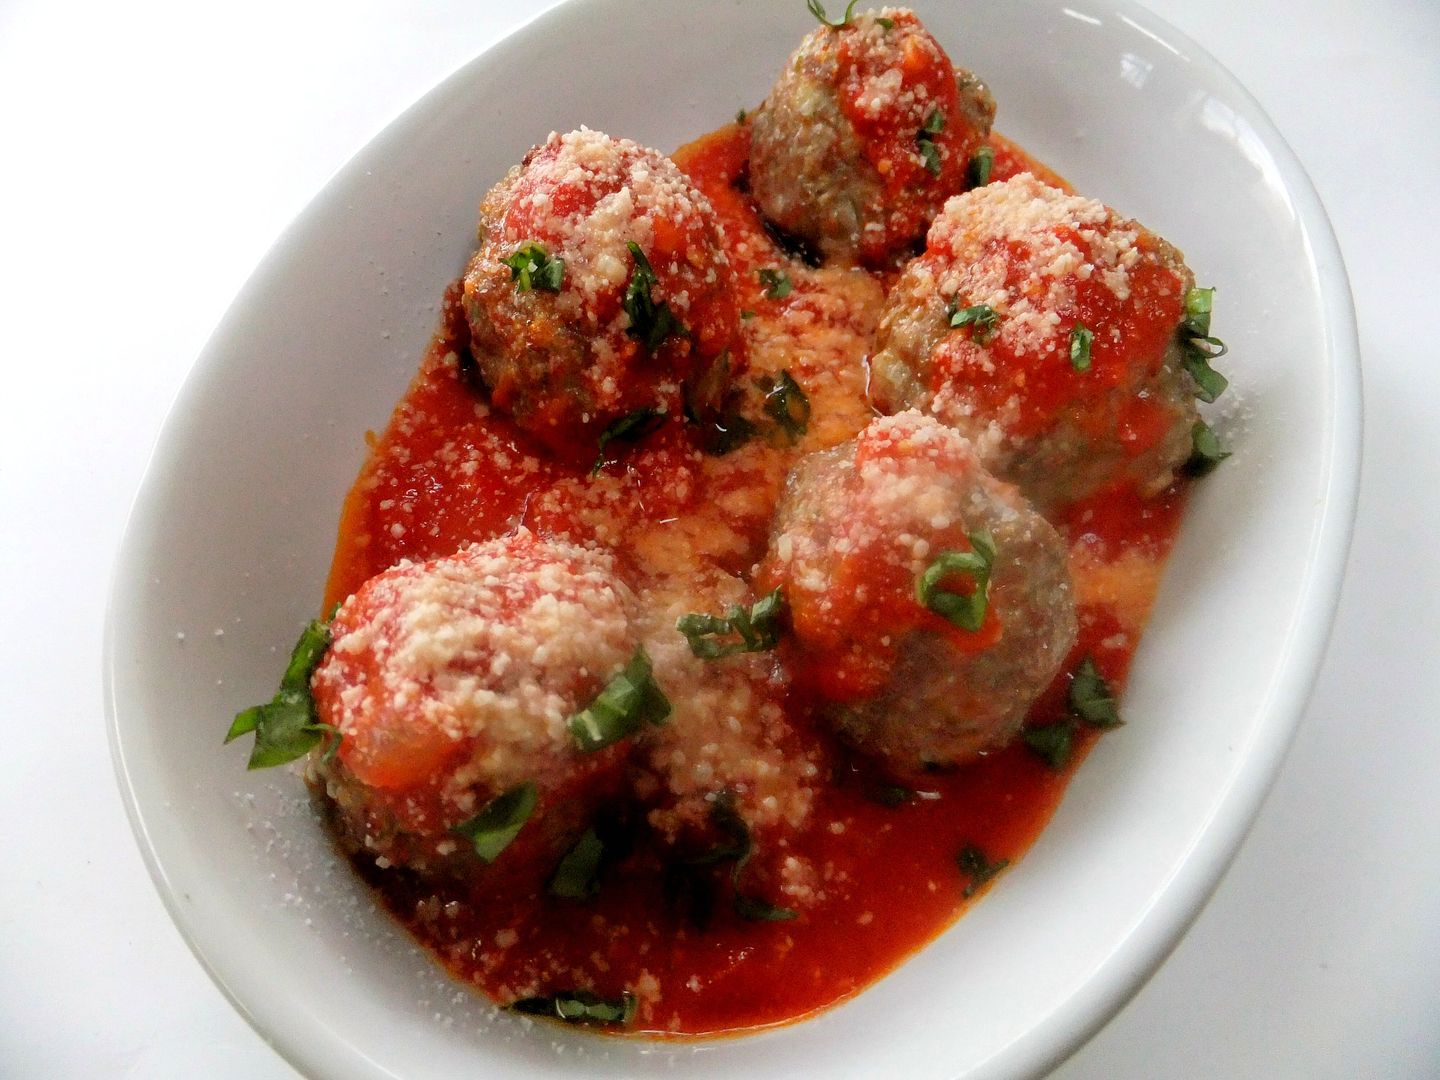
Spoon some freshly made marinara over the top, dowse it with grated cheese
now grab your fork!
I'm telling you my dear friends, this...was ...
good!!
Buon Appetito!


Monday, May 17, 2010

Wine Infused "Beer Can" Chicken

Plopping a whole chicken on top of an open can of beer and then roasting it on a grill might sound odd but once you try it you'll be hooked!

Beer can chicken is something I've been making for years, and with very little effort it always seems to come out perfect. Usually I'll make a dry rub of several different spices like cumin, paprika, garlic, cayenne, dry mustard and brown sugar and rub that all over my bird.

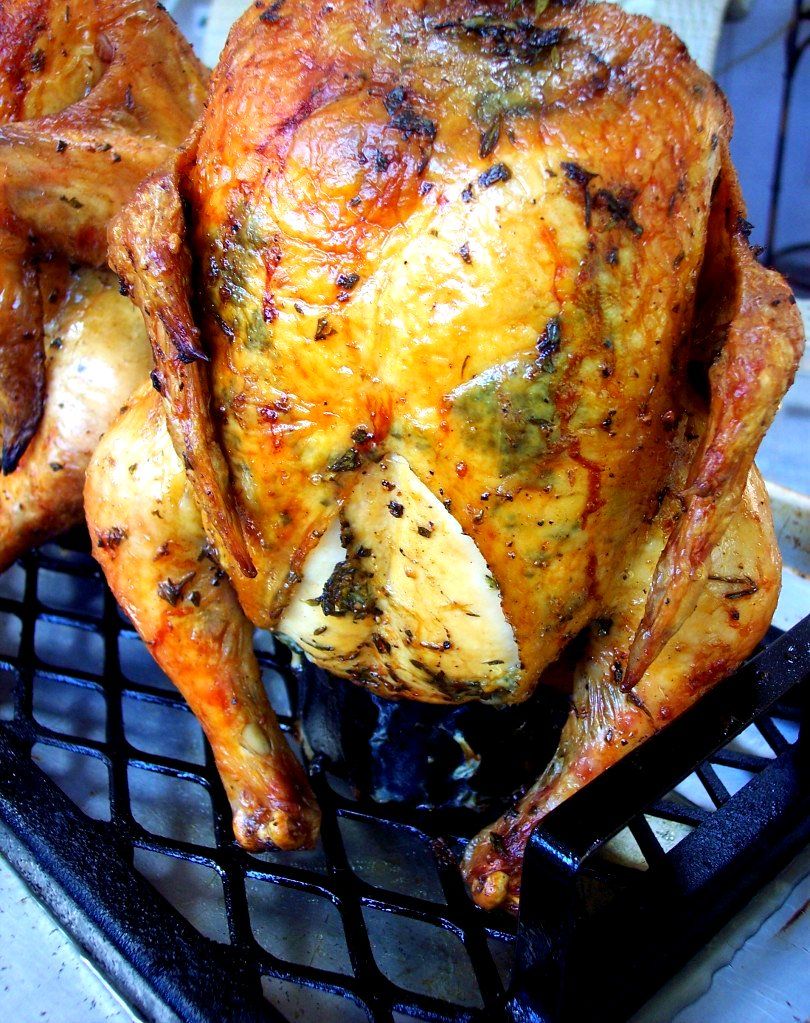
But this time I wanted to try something different and use wine instead of beer, and replace the dry spice rub I with a fresh herb mixture consisting of lemon peel, garlic, red pepper flakes, thyme, parsley, oregano, salt, pepper and a drizzling of olive oil which made a nice thick paste. I rubbed the paste all over my rinsed and patted dry chicken, making sure to get it underneath the skin as much as possible, then I let it sit for a good 30 minutes.
In the meantime I opened up a bottle of wine that was room temperature, rinsed out some empty tin cans and then proceeded to pour the wine into the cans, making sure to leave a little room at the top. I used an inexpensive chardonnay which had some citrus notes, a good choice for the chicken.
You can find beer can chicken holders in many different stores and on line. There's double and single holders, some are very fancy and some very basic, they all work well. You really don't even need to use a holder because the chicken usually balances perfectly just right on the can, but a holder makes it easier for you to pick up and move the chicken.


Lower your chicken over the can until the can is inside the body cavity, this will insure that all the wine will infuse throughout the bird, then to make sure that the steam doesn't escape just place a sliced onion wedge on top where the neck cavity hole is.

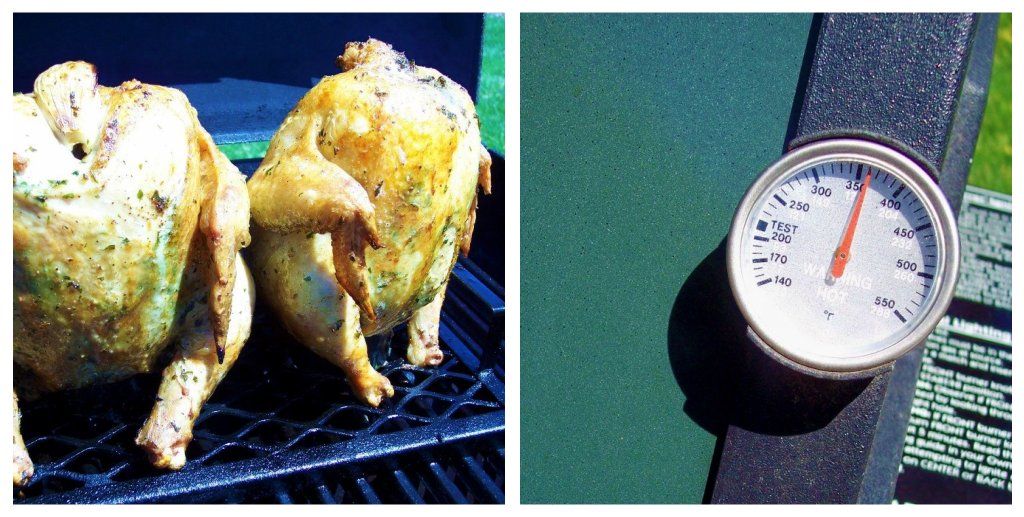
Having a gas grill makes it easy to regulate the heat, make sure your cooking temperature stays between 350 and 375 degrees. Depending on the size of your chicken times may vary, mine took 1 1/2 hours to reach the internal temperature of 180.
Never place the chicken on direct heat, I have 3 burners I shut the middle one off and that is where I place my chicken, the other 2 burners are on.
For charcoal grills read manufacturers suggestions for indirect heating.

Make sure you let your chicken rest for 10 to 15 minutes before cutting into it.
The result from using wine instead of beer was fantastic, the herbs infused the chicken with so much flavor, the wine made the meat so tender and moist and the skin was super crunchy, a win win situation!

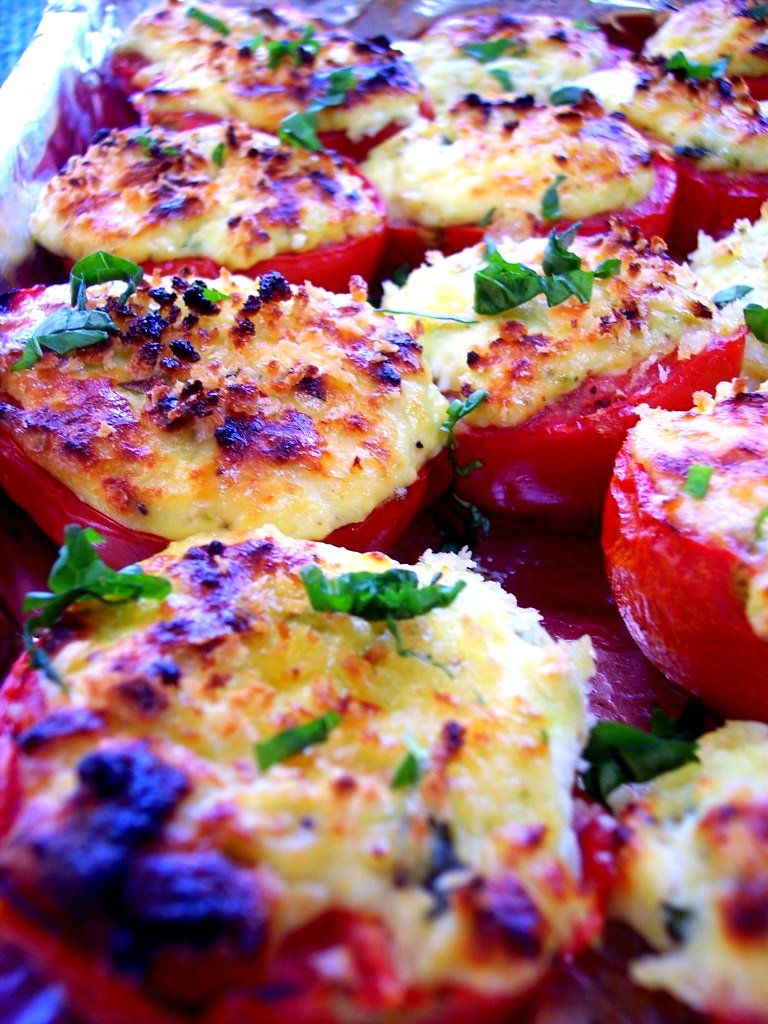
For one of my sides I made Ricotta Stuffed Tomatoes. Plum tomatoes stuffed with grated cheese and basil, it went excellent with the chicken.

I got this recipe from my friend Stacey's blog, I've been making them over and over, they're that good!

I also made some Italian Potato Salad. Green beans, tomatoes, olives, red onion and potatoes all dressed with olive oil, oregano, salt, pepper and red wine vinegar.
A nice alternative to a mayo based potato salad.

I have to give a shout out to my hubby who always keeps our yard looking so good with all the flowers he plants. Next week the forecast is finally looking warm, the tomatoes and other veggies are ready to go into the ground. Stay tuned for updates!

Buon Appetito!

Tuesday, April 20, 2010

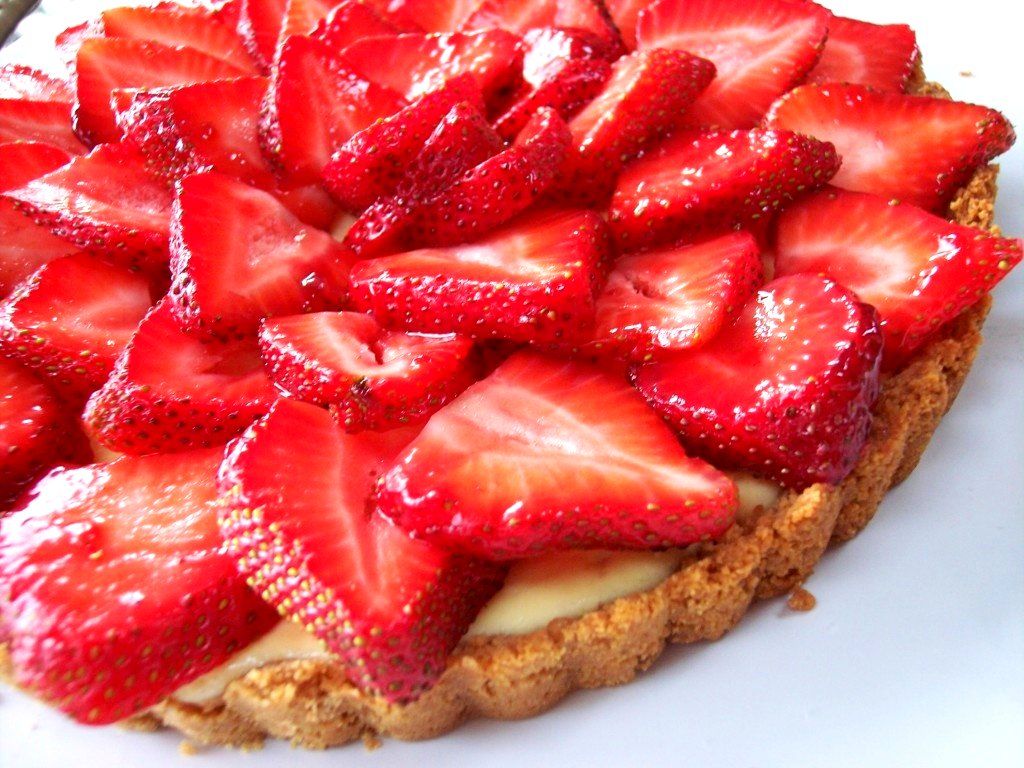
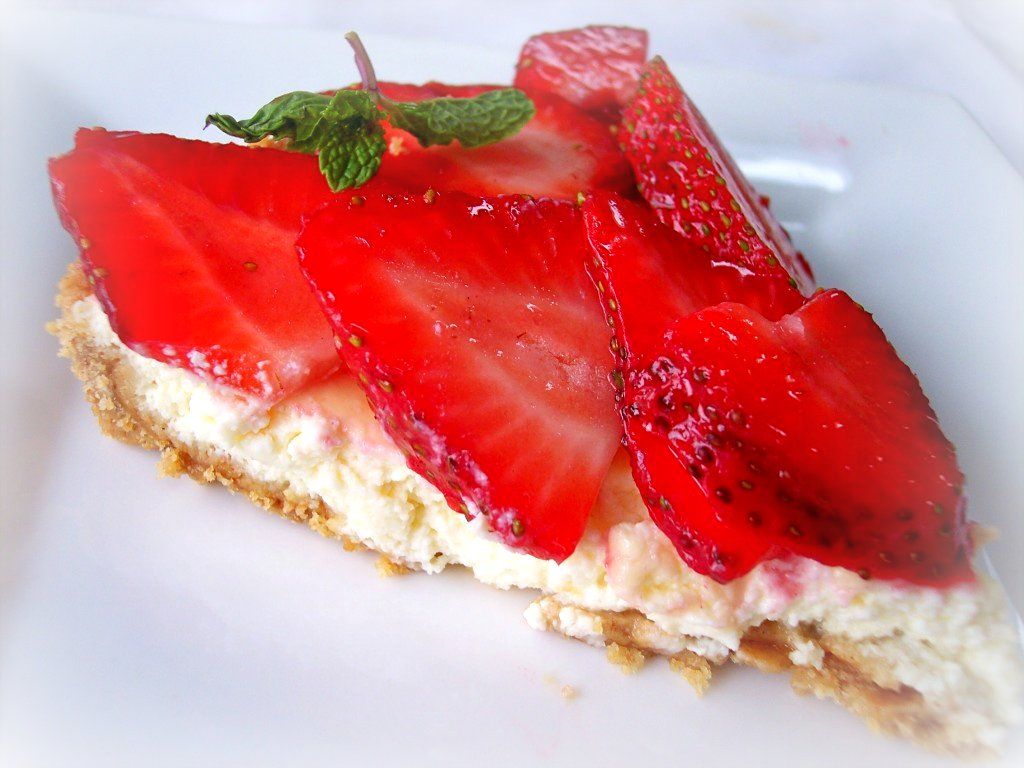
Fresh Strawberry and Ricotta Tart

I love this time of year when fresh fruit and berries are popping up all over in the grocery stores, and even though it's not quite the season yet they're looking really good and there's always some kind of a sale going on which makes it even better! So I just can't resist buying berries every week.

Most times I'm mixing them up in some Greek yogurt which is very satisfying in itself, but every once in a while I like to make a tart or a pie of some sort. When I found this recipe I knew I was going to love it, strawberries and ricotta go so well together.

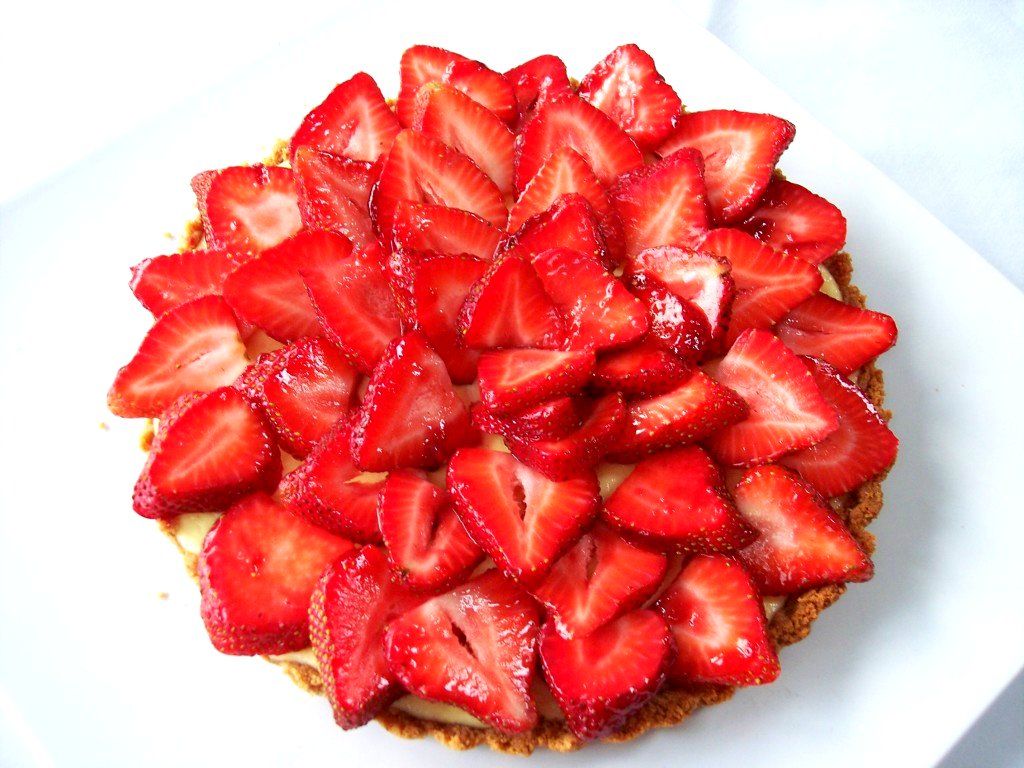
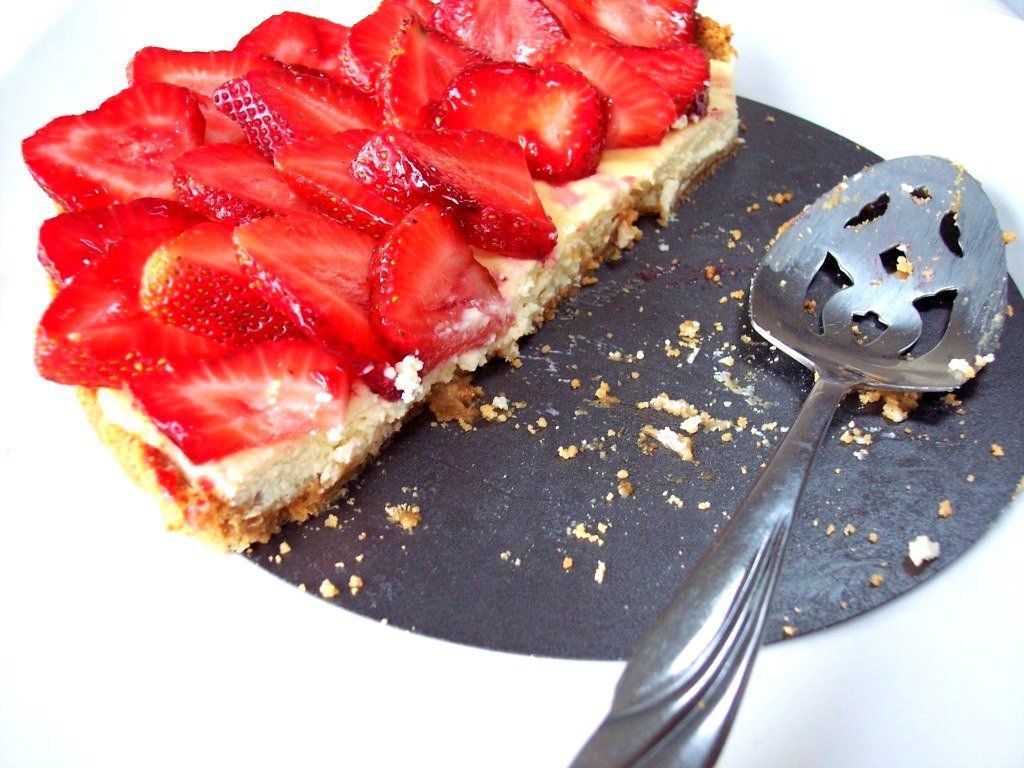
This is not an overly sweet dessert, in fact the balance is just right, the creamy ricotta actually complements the strawberries in a way that lets them shine through. And lets face it, glossy fresh strawberries topped on any dessert is hard to resist!


We couldn't resist, as you can see!

Adapted from Rustic Fruit Desserts
The original recipe calls for a short dough crust, but I felt like a graham cracker crust so I made that instead, but feel free to make or purchase your favorite pie crust.
For my version you'll need:
1 ½ c. of finely ground graham crackers
1/4 c. sugar
5 Tbs. butter, melted
1/8 tsp. salt
Firmly press the crumb mixture into the bottom and up the sides of a 9 inch fluted tart pan with removable bottom.
Ingredients:
1 cup ricotta
1/3 cup reduced fat cream cheese at room temperature
3/4 cup granulated sugar
1/2 teaspoon salt
2 eggs
1 tablespoon vanilla extract
6 cups strawberries hulled, and sliced on the thick side
1/2 cup strawberry jam

Here's what you do:
1. Preheat the oven to 350°F.
2. Using a beater, mix your ricotta, cream cheese and sugar together on medium speed. Add the eggs one at a time, beating until smooth after each addition and scraping down the sides of the bowl occasionally. Stir in the vanilla.
3. Pour the filling into the prebaked tart shell and bake in the middle of the oven for 30 minutes, or until the edges have puffed up and toothpick comes out clean. Cool to room temperature on a rack, then chill in the fridge for 1 hour.
4. Just before serving, put the strawberries in a bowl. Warm the strawberry jam in a small sauce pan over low heat, then toss and coat the jam over the strawberries. Arrange the sliced berries on top of the tart and serve immediately.
Note: The tart filling can be made a day in advance and refrigerated. Top with the strawberries just before serving.
Enjoy and Buon Appetito!

Wednesday, March 3, 2010

Smashed Peas with Ricotta Toasts

I came across this fantastic recipe the other day while I was sitting in the waiting room of my husbands Chiropractor. I picked up the February issue of Better Homes and Garden and while flipping through it, I found this and I instantly knew I was going to make it.

For a split second I thought about silently ripping the page out, but then that wouldn't be very nice, so I started fishing through my purse but couldn't find a pen, so I finally just asked the office girl if she would kindly make a copy for me and she did, I was happy!
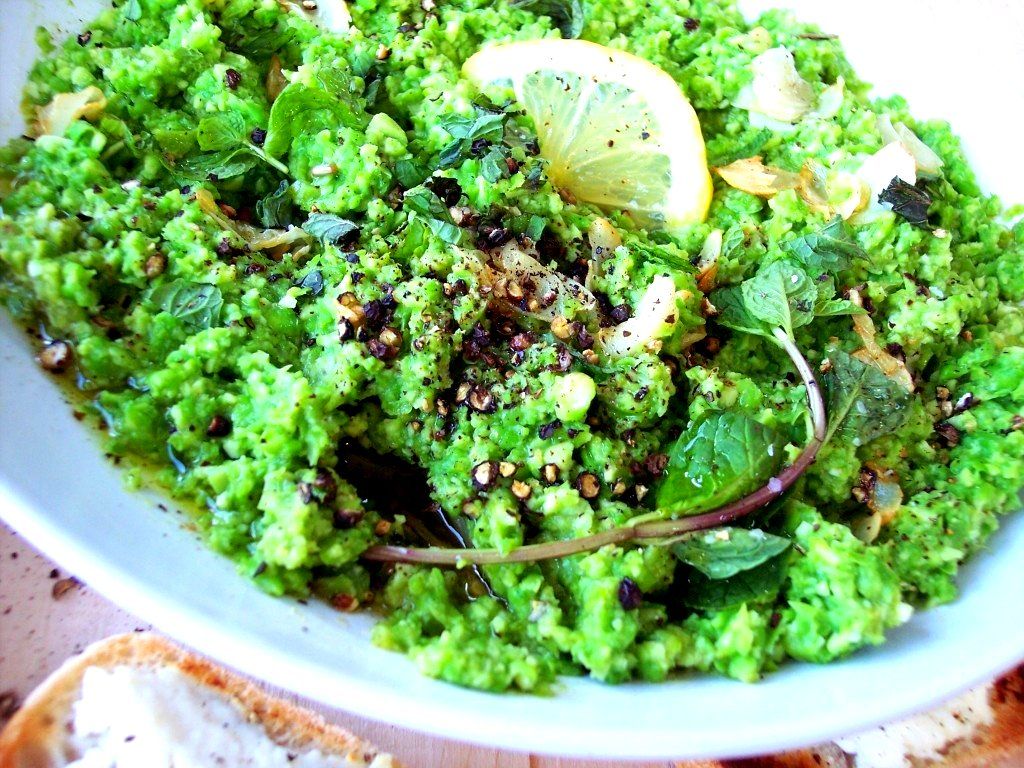
It's hard to explain how good this is, but think fresh lemon juice, sauteed garlic, fresh mint and cracked pepper swirled into a puree of peas and edamame flavored with salt and a healthy drizzle of olive oil, but then the best thing is, you take it and smear it on top of a baguette slice that was slathered with ricotta and toasted under the broiler! Oh my, it's addicting!
This is such a great appetizer, it makes a ton and it's really healthy, no mayonnaise, sour cream or cream cheese to make you feel guilty about eating it.

The thinly shaved garlic is a must as well as the coarsely cracked pepper, that along with the lemon and mint make a wonderful flavor combination.


Here's the recipe:
Adapted from BHG February 2010 issue
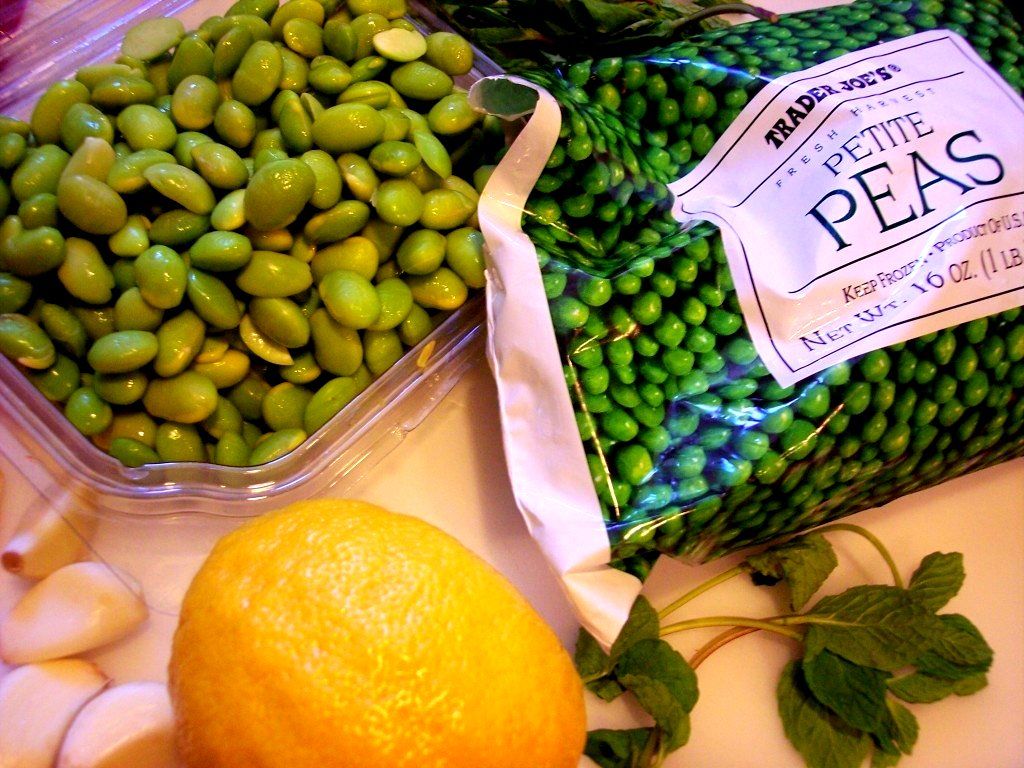
1 16oz. pkg, frozen peas
1 12oz. pkg frozen or precooked and shelled edamame
1 T olive oil
4 cloves thinly sliced garlic
2 T lemon juice
1 to 2 tsp. freshly cracked pepper
kosher salt to taste
1/4 cup snipped fresh mint
1/2 lb.of sliced baguette
1 cup ricotta cheese
Extra olive oil for drizzling
1. In a large pot cook peas and edamame for 5 minutes in a small amount of boiling water. Drain, transfer to food processor and puree.
2. In a small skillet with olive oil, add garlic and cook till tender. Stir into pureed peas along with the lemon, pepper, salt and mint.
3. Meanwhile, for ricotta toasts, spread baguette slices with ricotta cheese, arrange on a baking sheet and broil until ricotta is warm and bread is toasted. Sprinkle with salt and cracked pepper.
4. Before serving drizzle pea mixture with olive oil and additional cracked black pepper.

Buon Appetito!